
GitLab Registry Integration Settings
To set up the GitLab integration with the Hopper App, you need to generate a token. This token will only be displayed once upon creation, so we advise having both the GitLab website and the Hopper App open simultaneously to easily copy it. Please follow these steps:
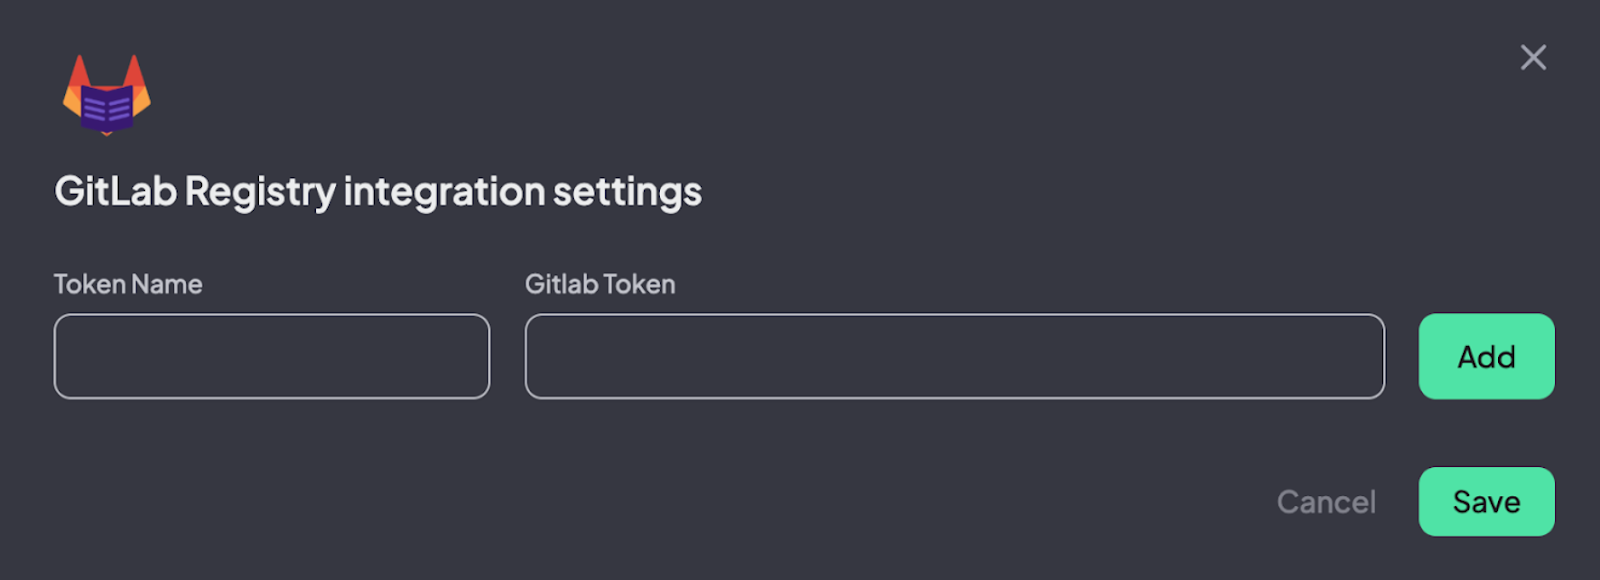
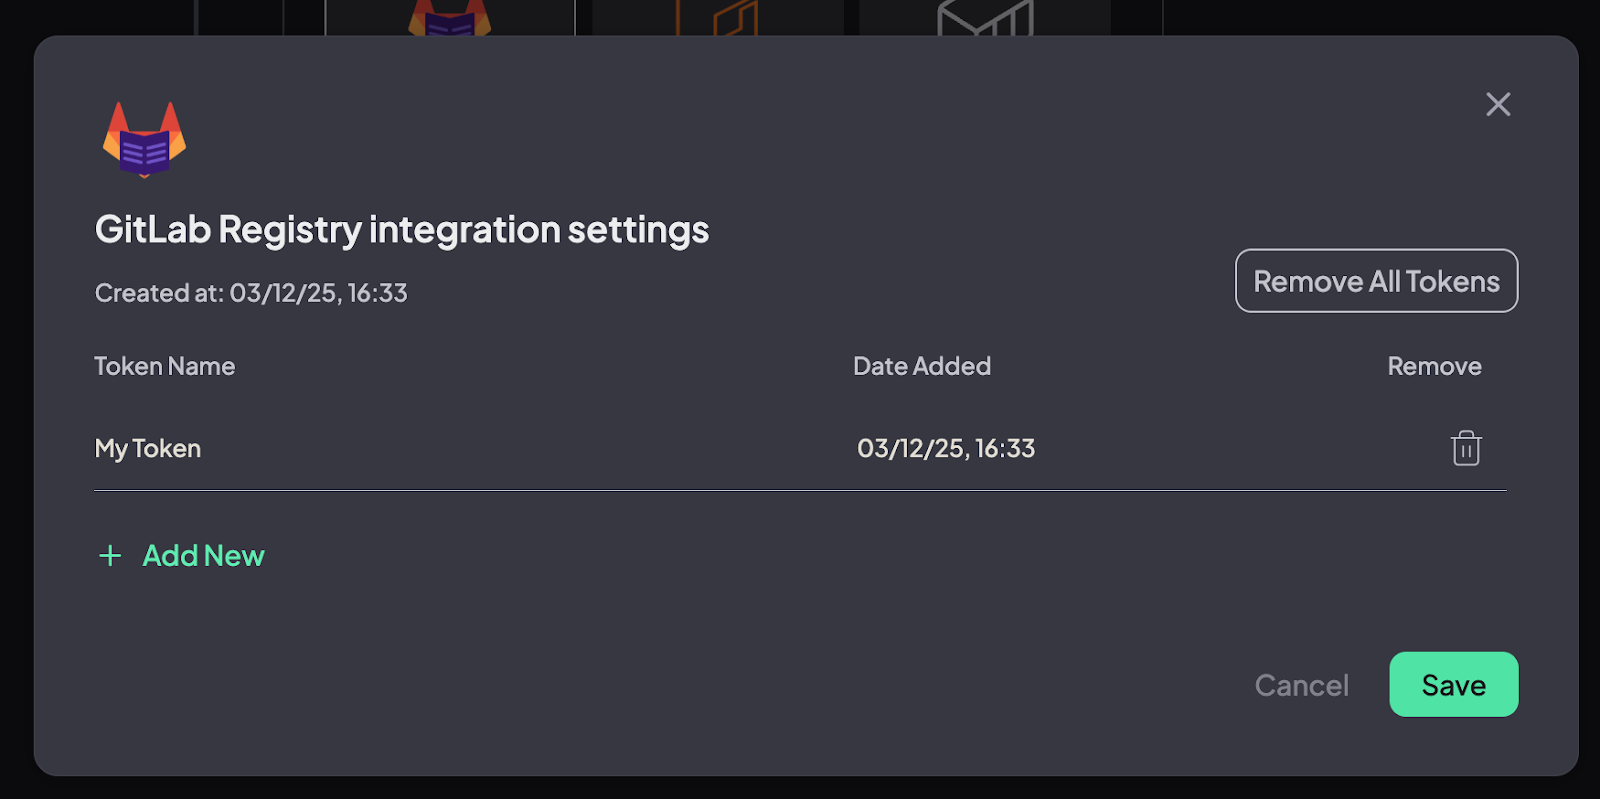
1. In the Hopper App, Click Connect to GitLab Registry. A pop-up window will appear. Type a token name and navigate to the GitLab website.
2. GitLab Website: You can generate Tokens in two ways:
- Group Access Token (Recommended)
- Personal Access Token
Option 1: Group Access Token (Recommended)
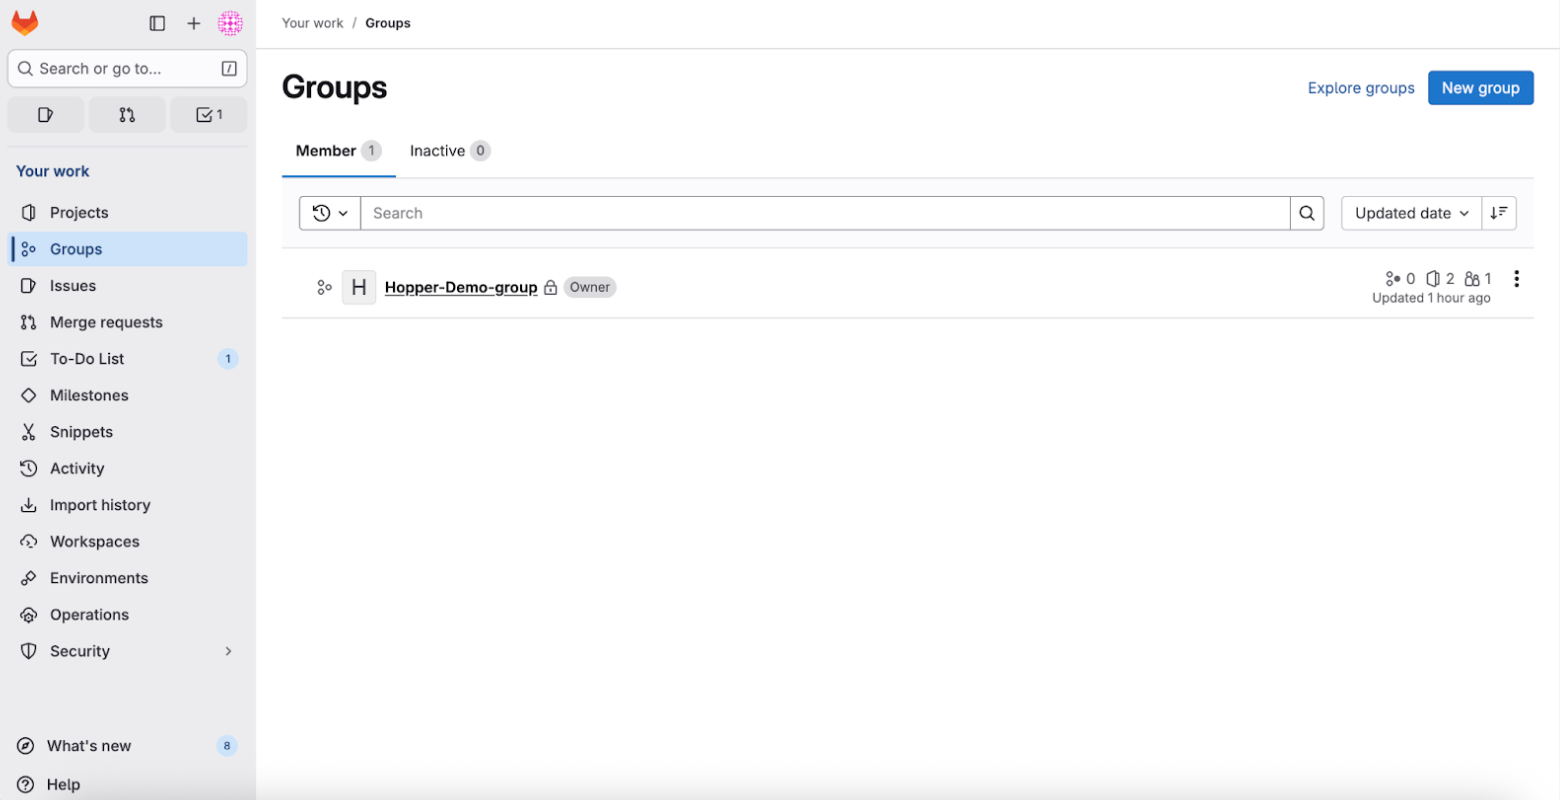
1. Connect your GitLab → choose Groups → Click on the group you want to create a token for.
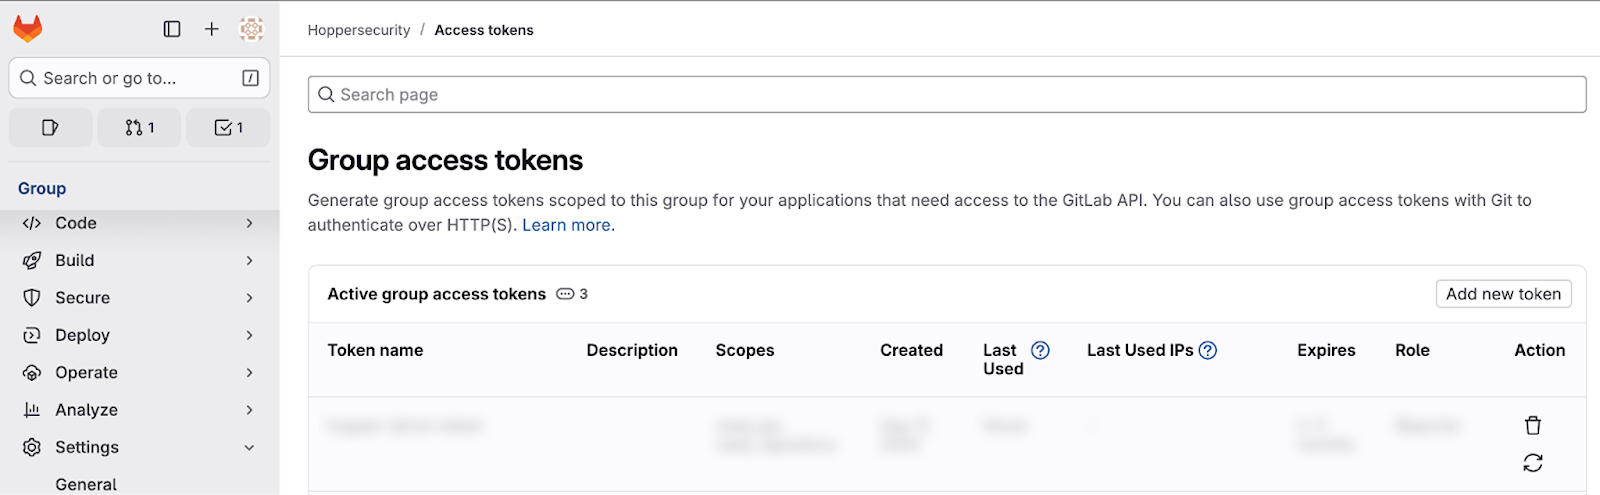
2. Click Settings→ select Access Tokens
Please note: If you can’t select the Settings button, please contact your GitLab admin to ensure you have the required access or follow the instructions of GitLab to create permissions (link).

3. Click on Add New
4. Define:
- A Token Name
- Select an expiration date - we recommend defining a year.
- Choose a Role - you can choose between: Developer, or Owner.
- Under Select scopes, choose
- Read_registry
- Read_api
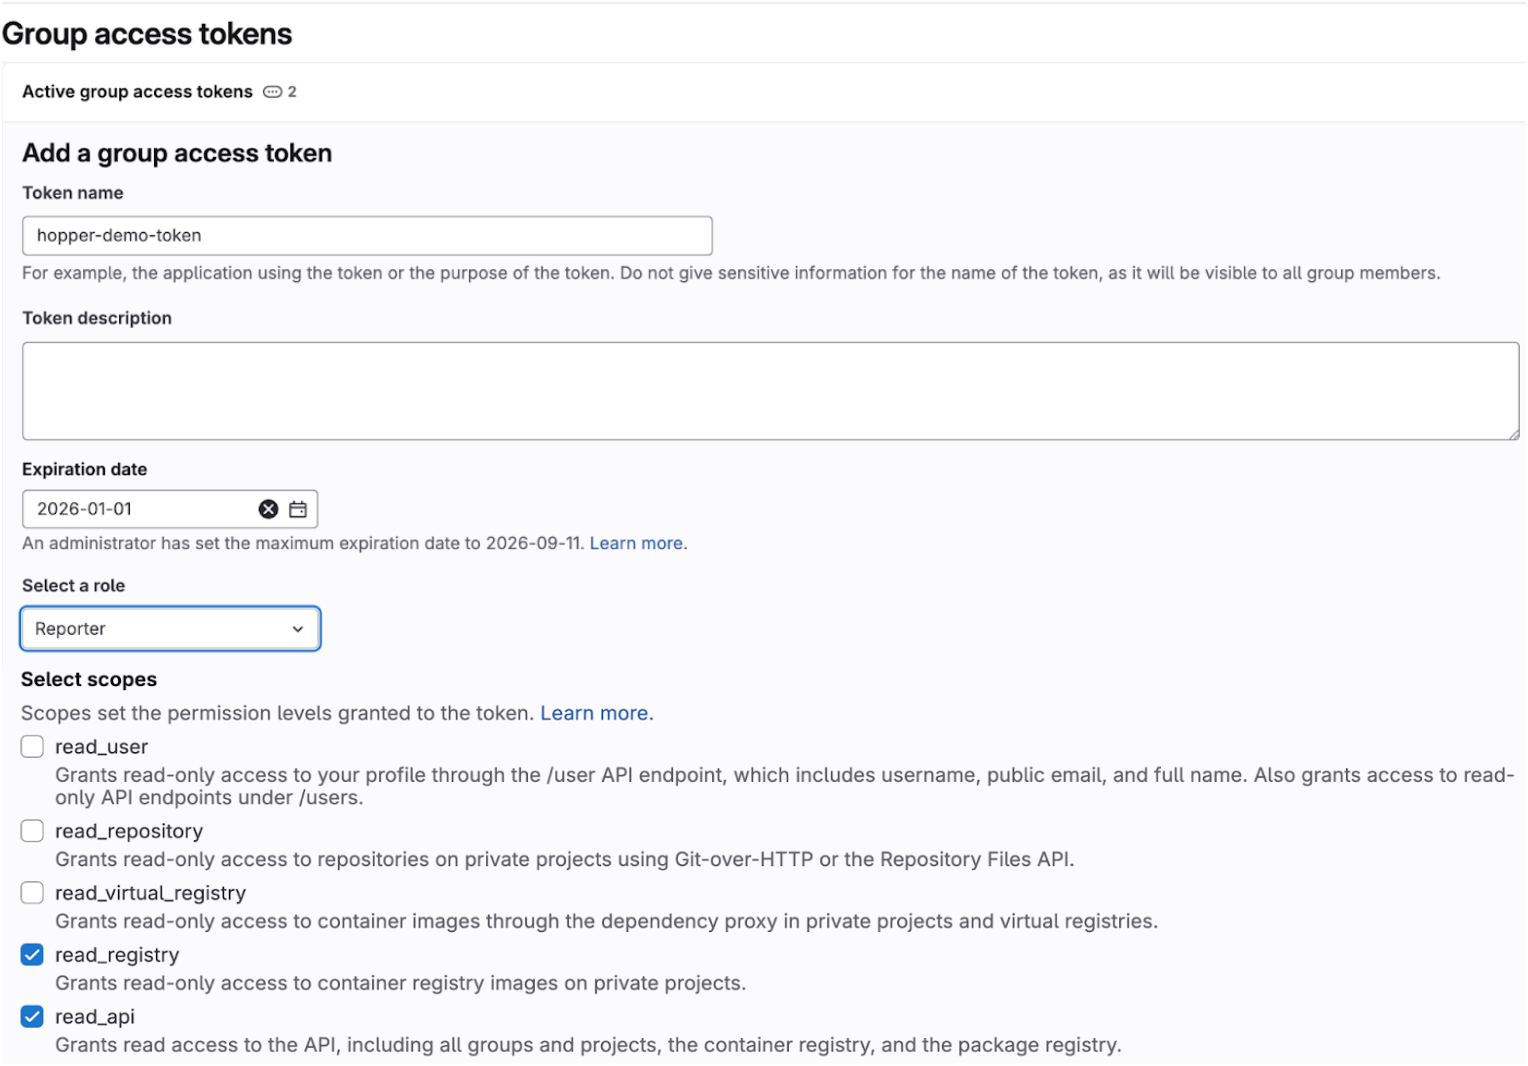
5. Click on Create Group Access Token at the bottom of the page
6. A Group Access Token has been successfully generated. As noted, this token can only be viewed and copied once, so be sure to copy it immediately to the Hopper platform.
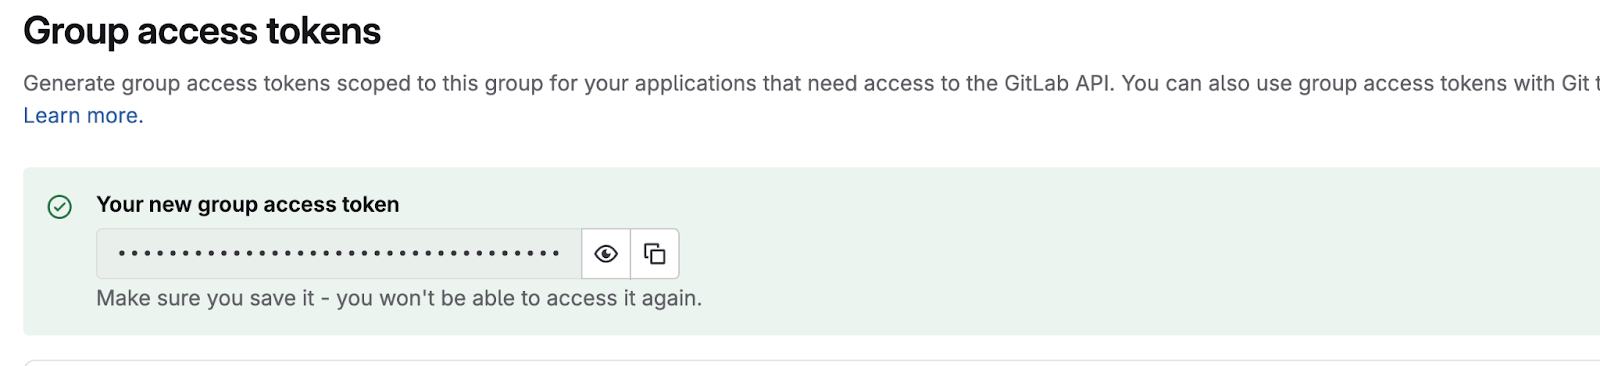
7. Copy the Token to the app and click Add. You can add more Tokens if needed. Ensure you click Save at the bottom to finalize your changes.

That’s it! You are all set!
Option 2: Personal Access Token
1. Click on Edit Profile
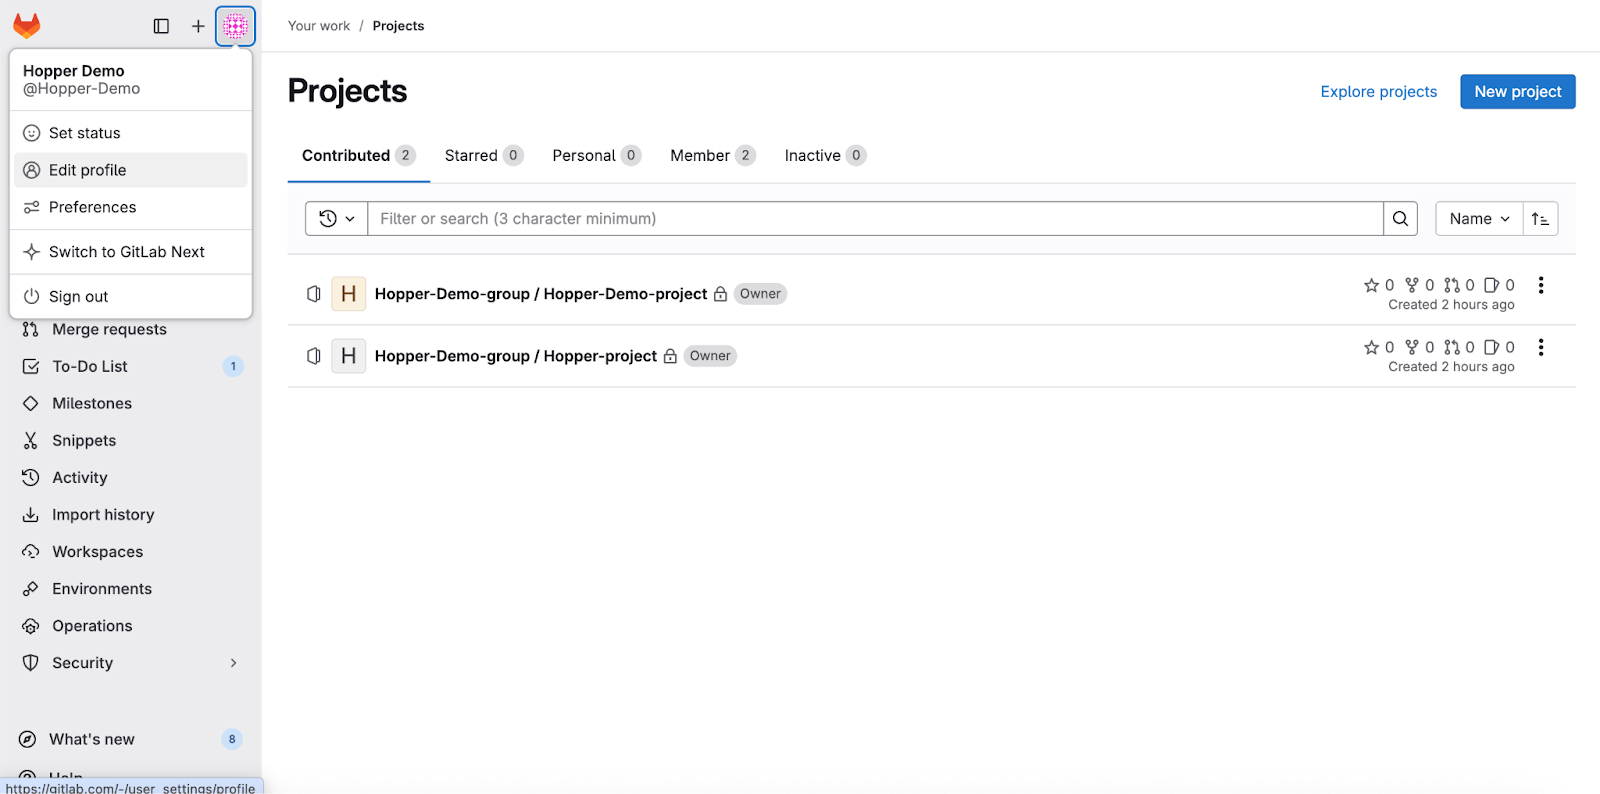
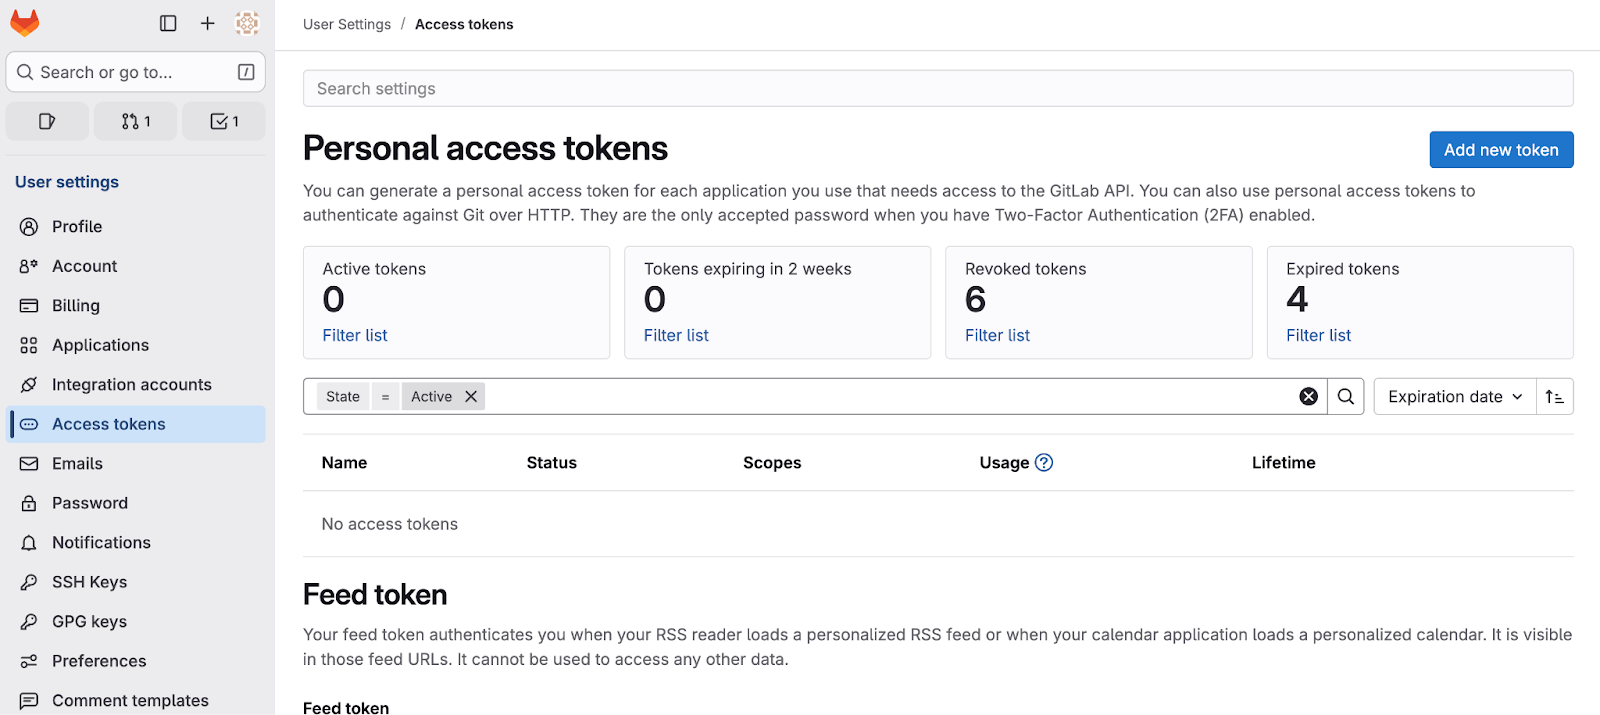
2. Click on Access Tokens/ Personal Access Tokens → on the token page, select Add New Token
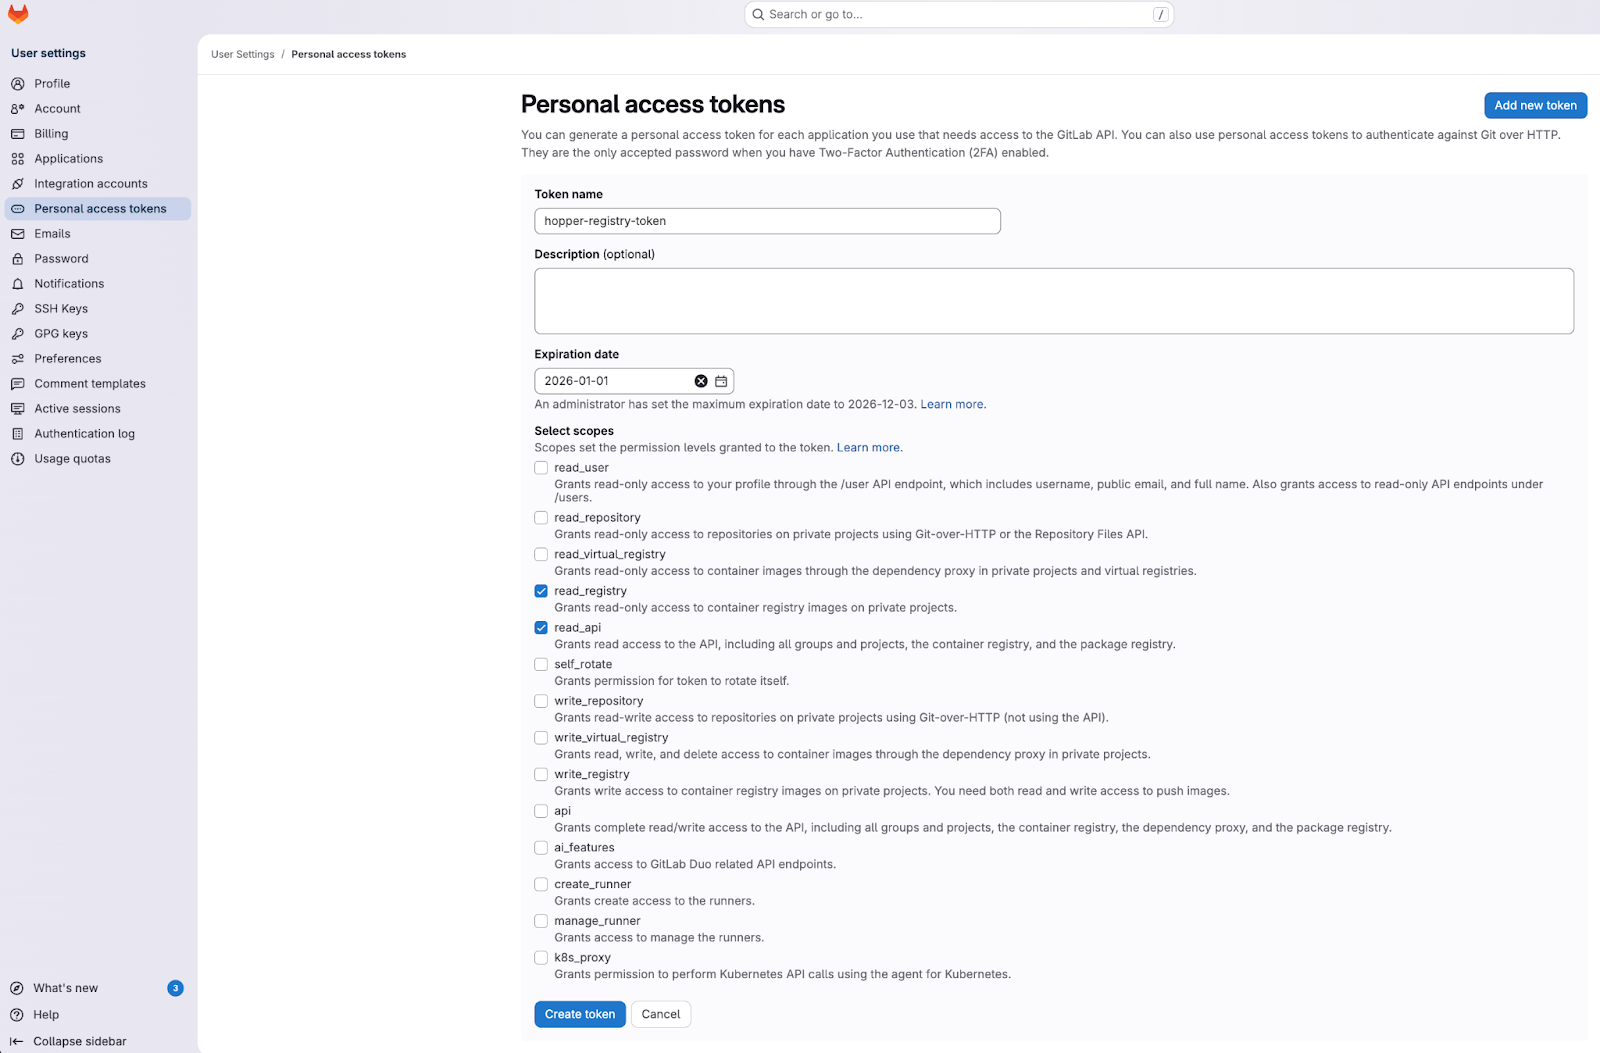
3. Define:
- A Token Name
- Select a Date - we recommend defining a year.
- Under Select scopes, choose
- Read_registry
- Read_api
4. Click on Create Token at the bottom of the page
5. Your Personal Access Token has been successfully generated. Please ensure you copy it immediately to the Hopper platform, as it can only be viewed and copied once.

6. Copy the Token to the app. You can add more Tokens if needed. Make sure you click Save at the bottom to finalize your changes.
That’s it! You are all set!
All set? Proceed to:
Select Repositories and Images