
Custom Registry and Integration with Docker Hub
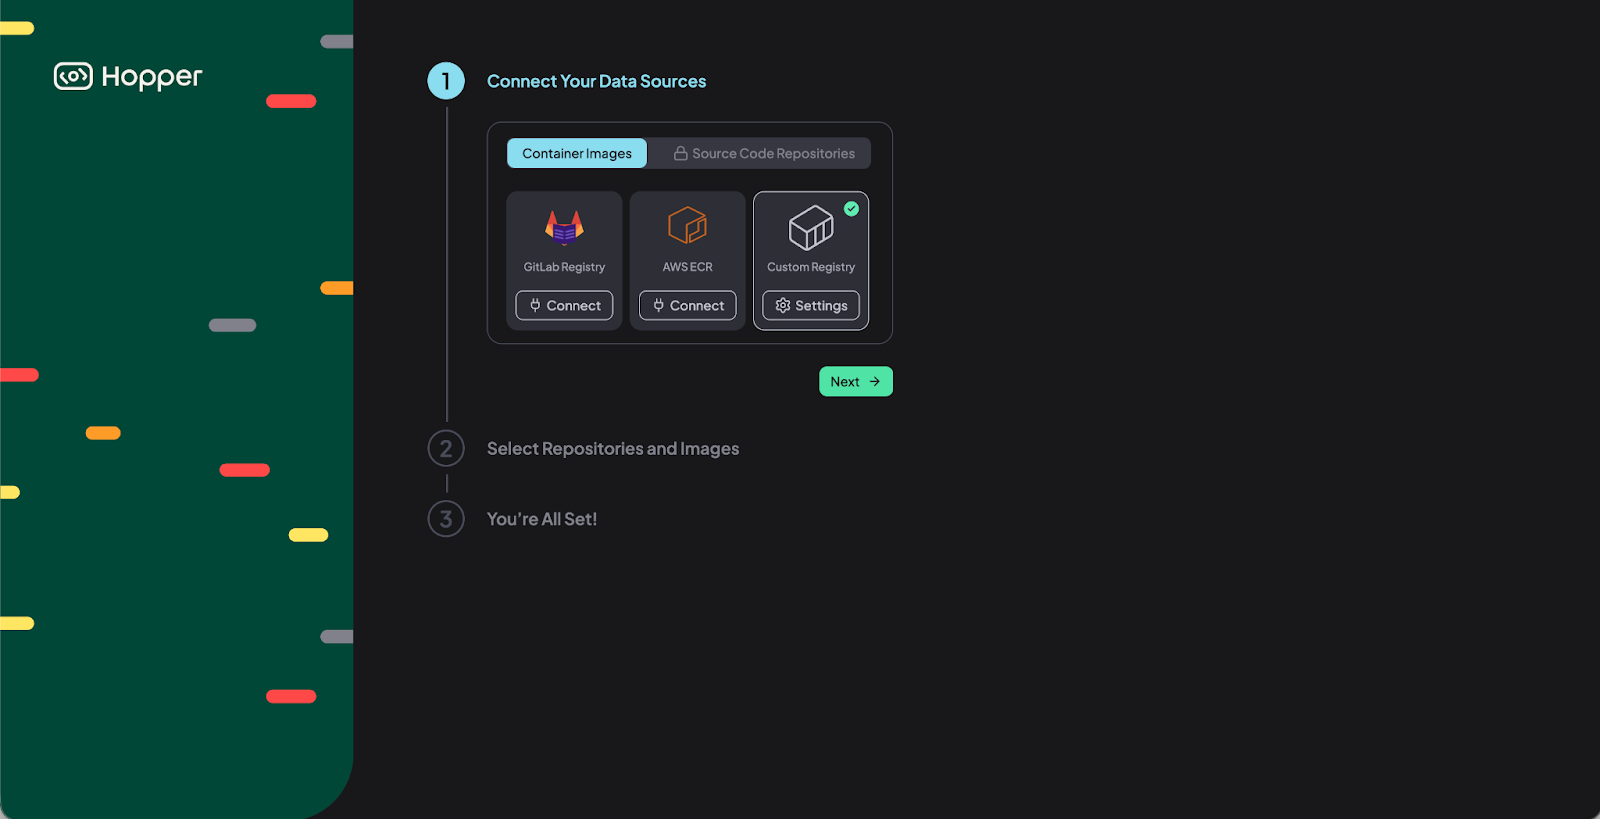
You can use any registry your organization utilizes for image analysis within the Hopper app. For instance, you can set up the Docker Hub registry as a custom registry.
This custom integration demonstration contains the following steps:
- Registry URL - Details the URL required for Docker Hub integration.
- Connection Method - Explains the authentication options (Credentials - Personal/ Organization Access Token and Username and Password, or No Authentication).
- Repositories and Images - Describes how to find and input the correct image identifier for analysis.
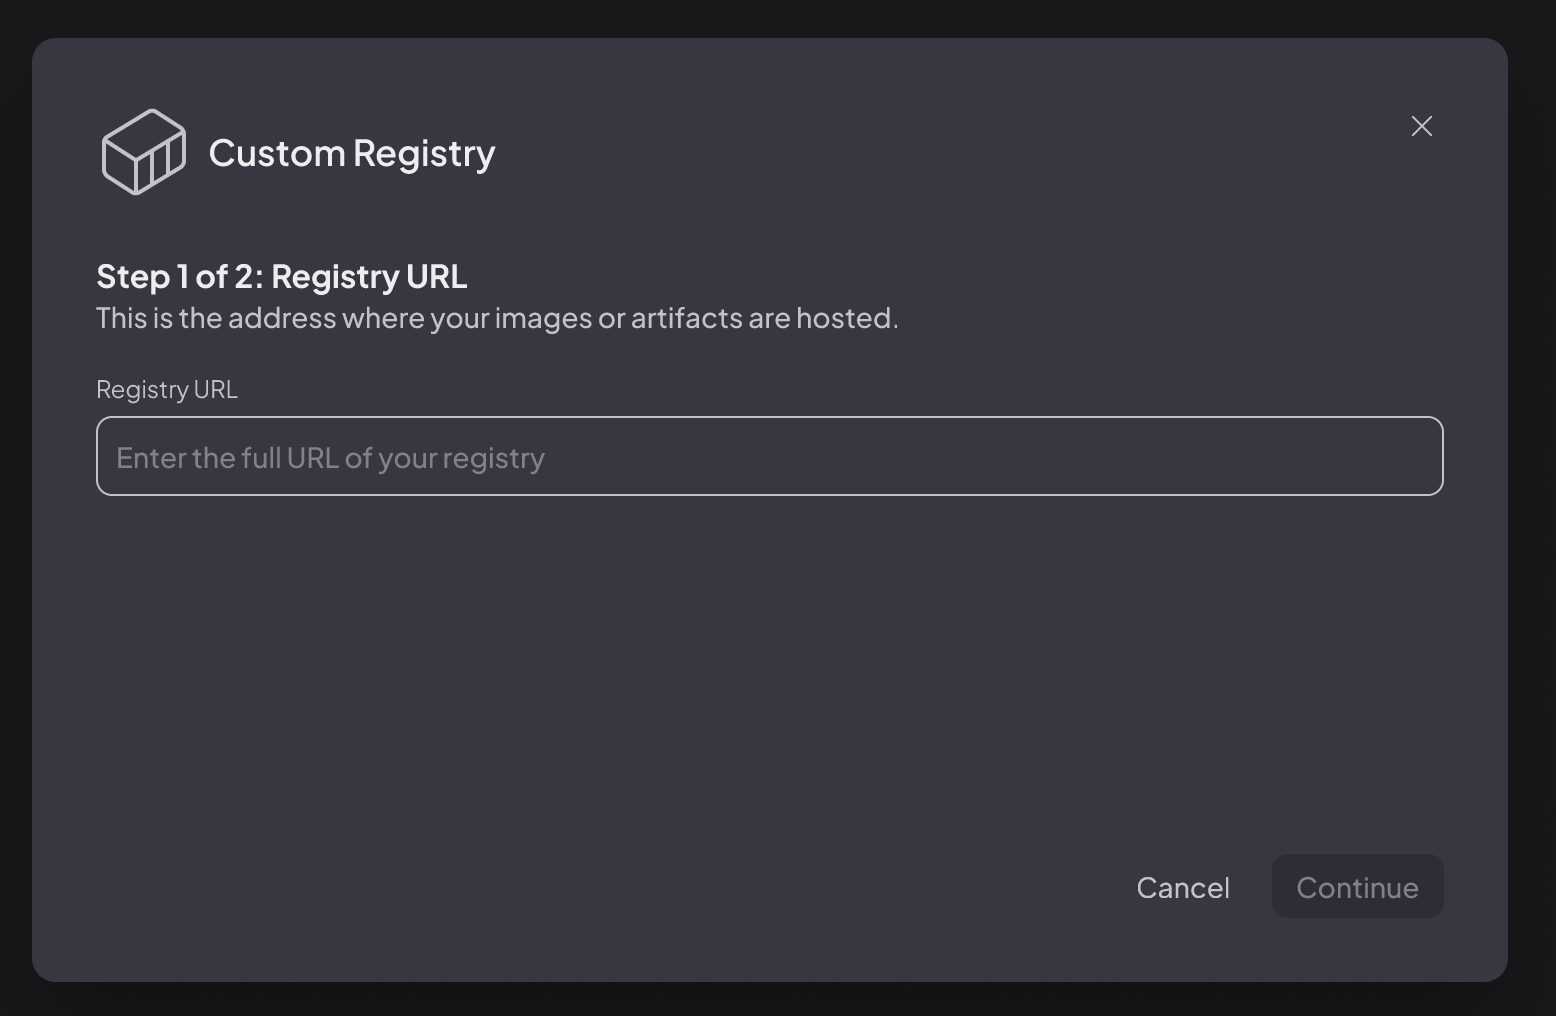
Step 1: Registry URL
To integrate with your Docker Hub repositories, copy the following URL to the Hopper app: registry.hub.docker.com and click continue.
Notice not to include any prefix such as http:// etc.
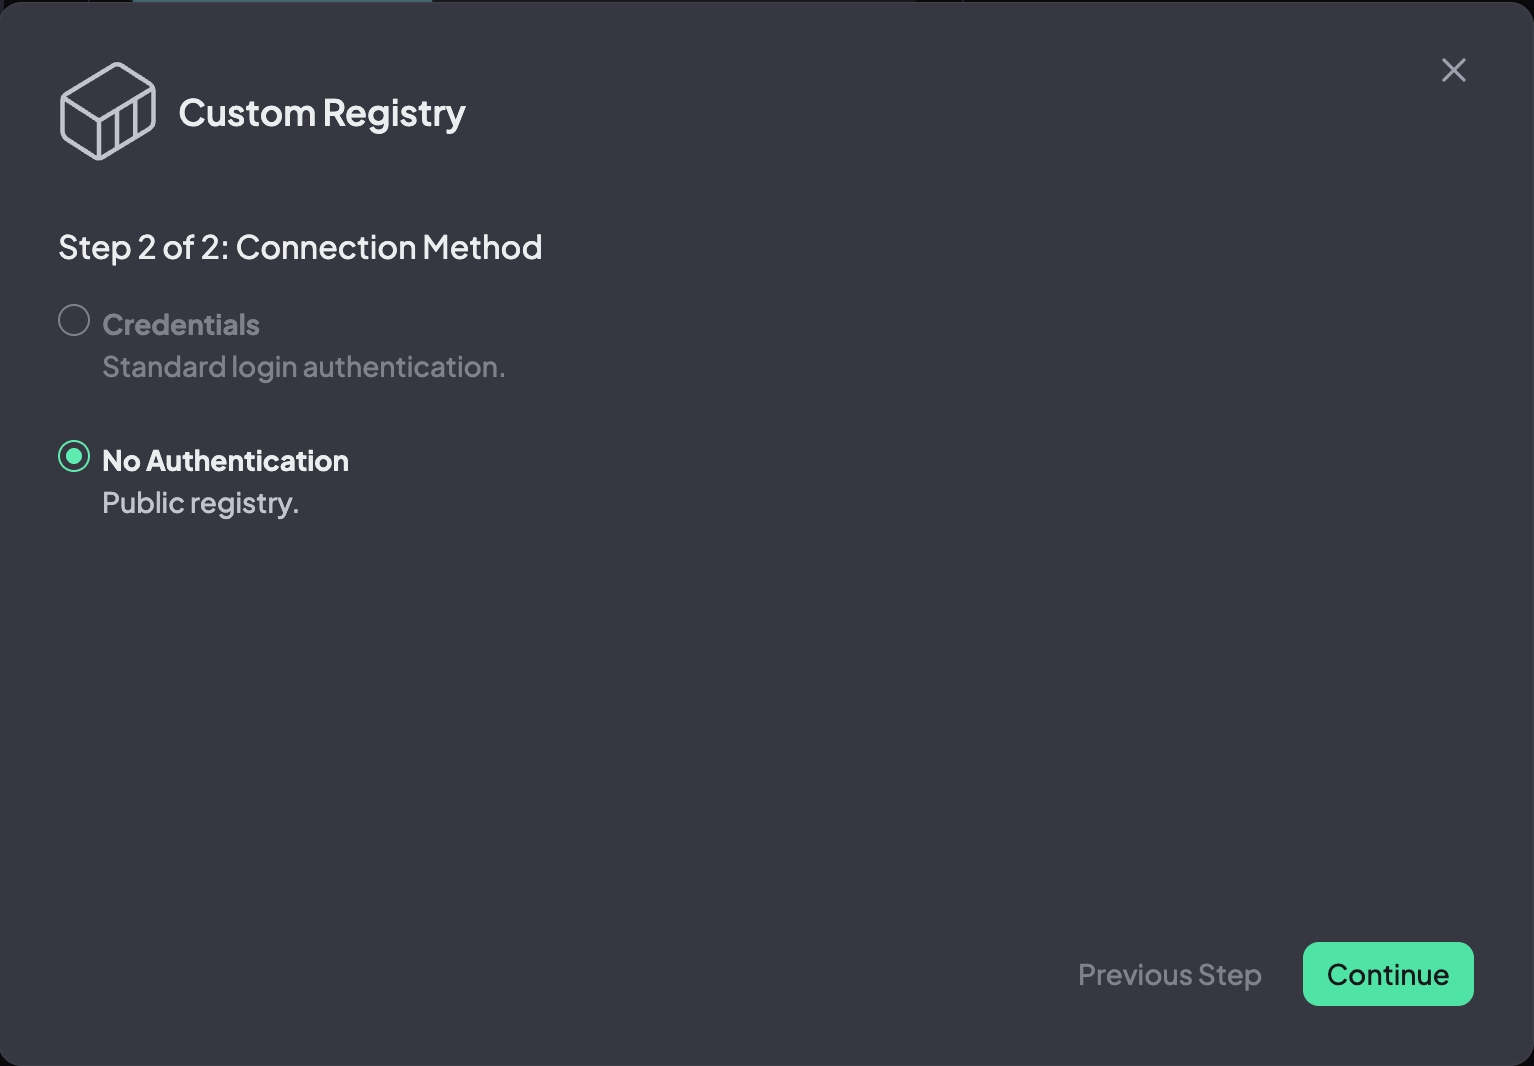
Step 2: Connection Method
No Authentication
Choose this option if you wish to analyze containers from public repositories only.
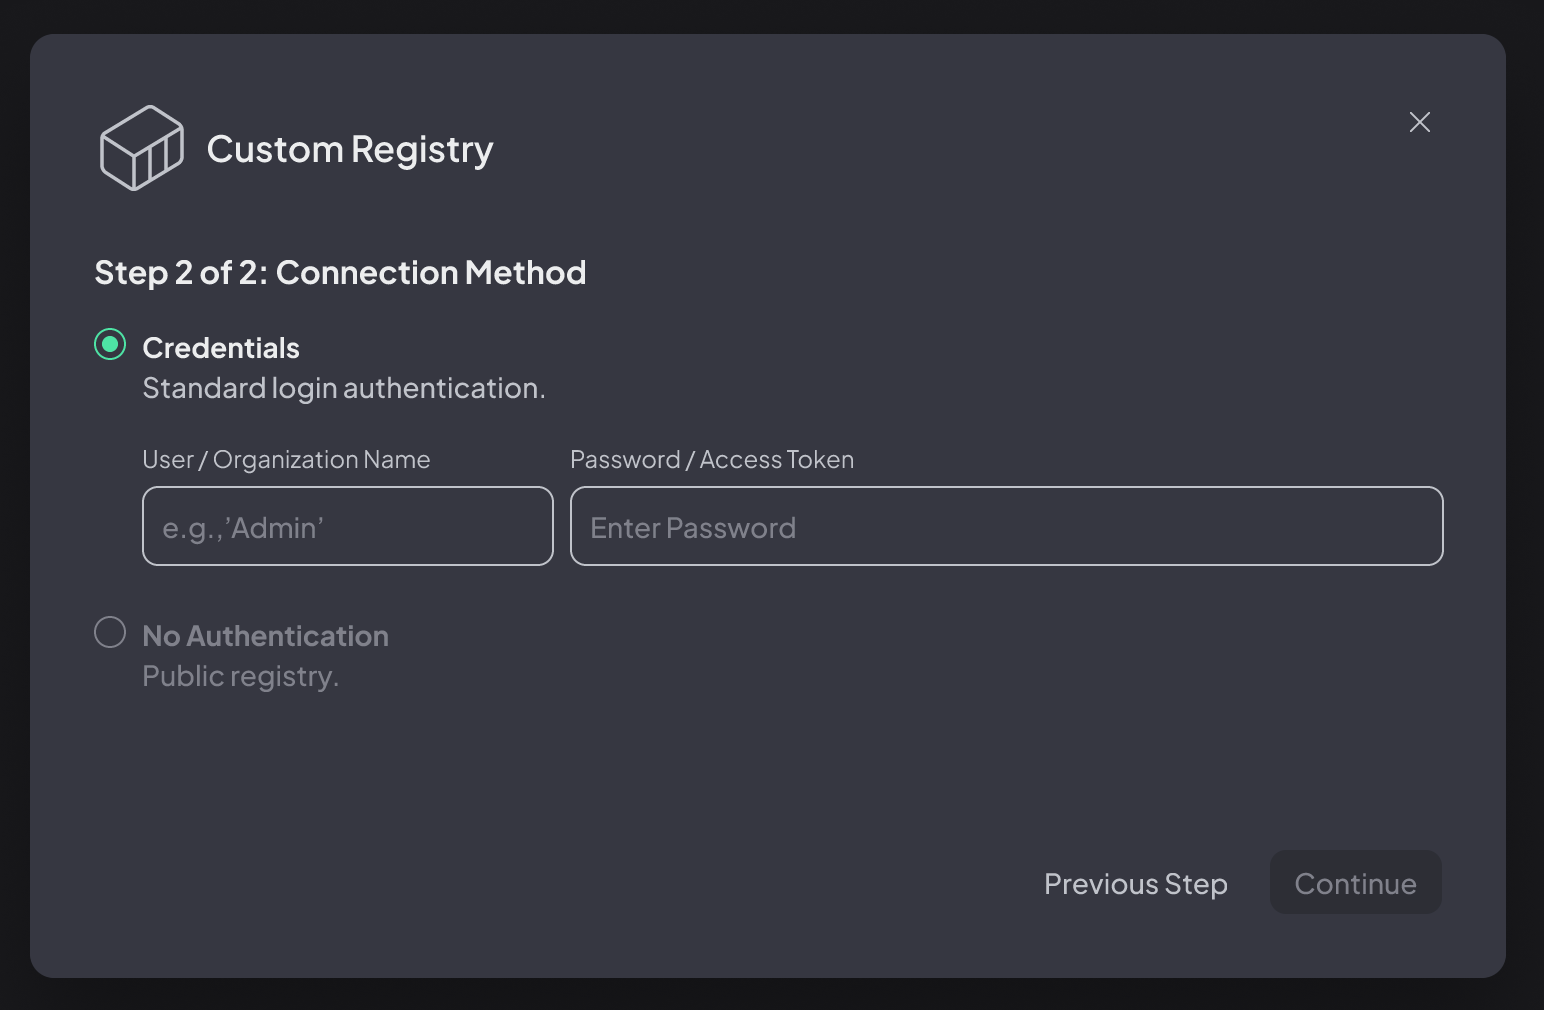
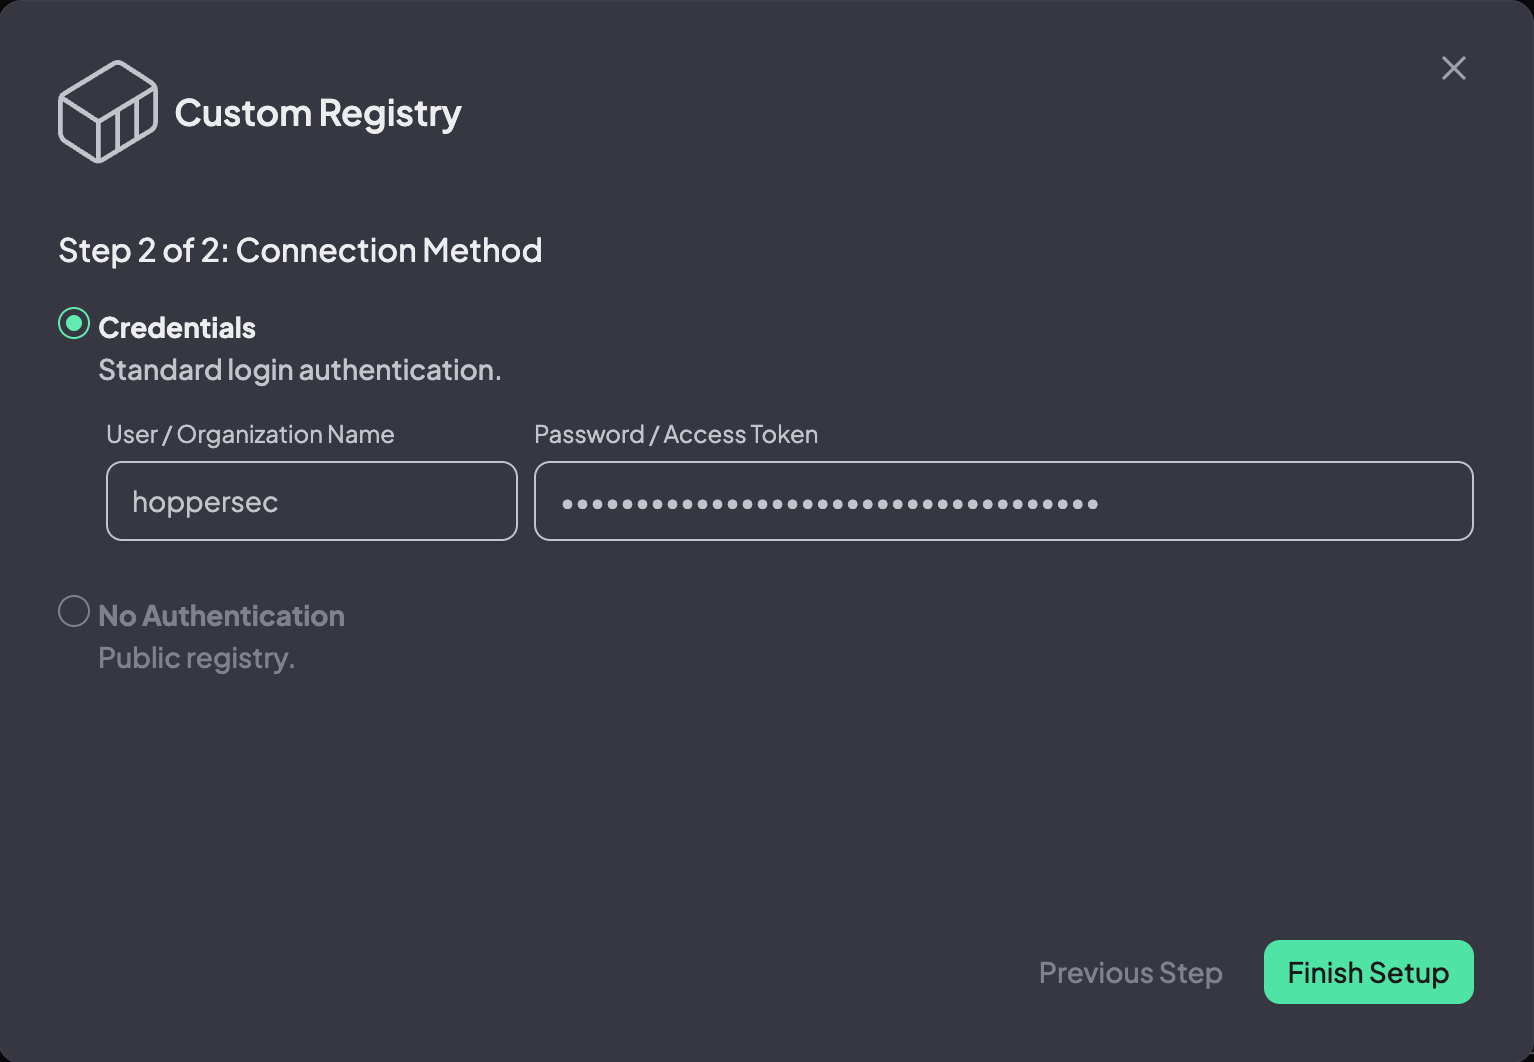
Credentials
To scan an image from a private repository, we recommend generating a Docker Hub Access Token. You can use either a (1) Personal Access Token (PAT) or an (2) Organization Access Token (OAT).
While it is possible to provide your Docker Hub username and password, using access tokens is preferred, as they allow you to manage and limit access more securely.
We recommend that you open the Hopper App simultaneously with the Docket Hub website, as you won’t be able to retrieve the token once you exit the screen.
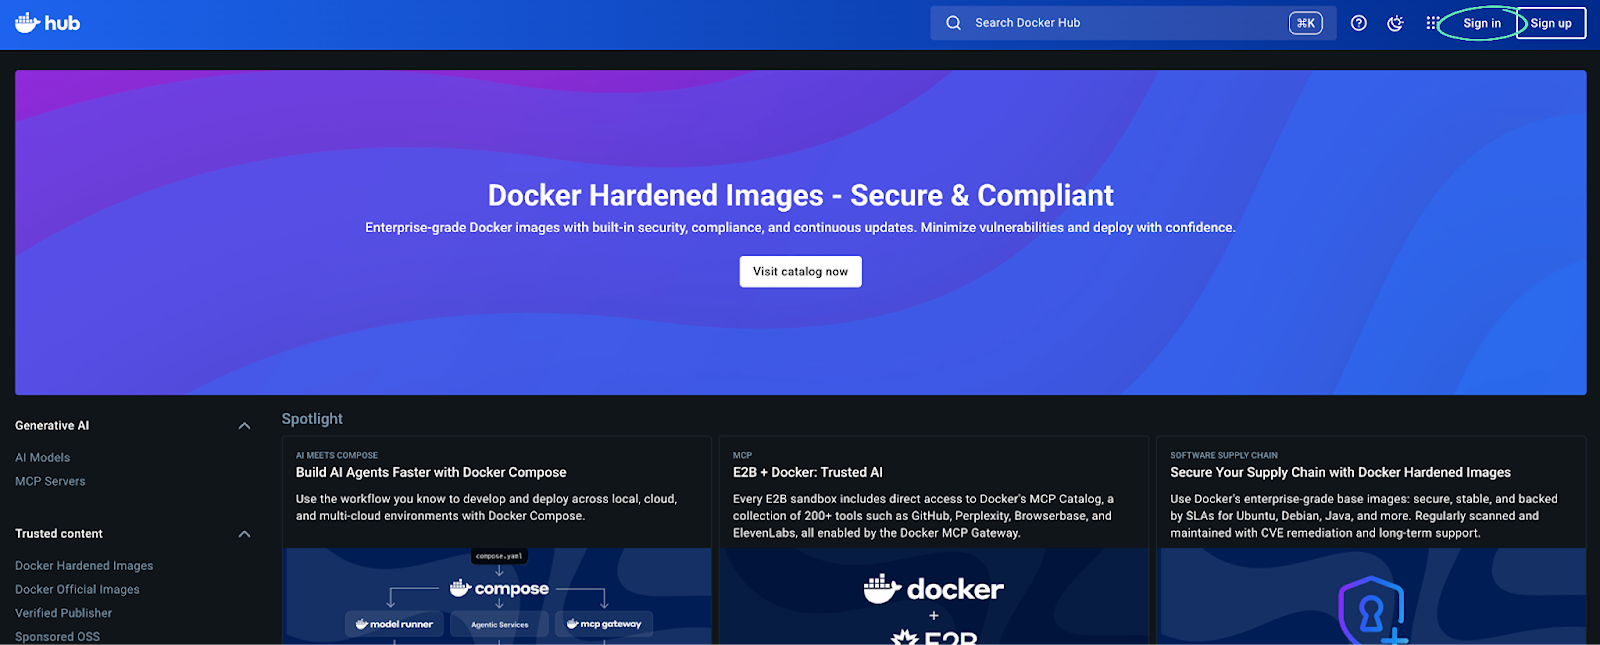
Option 1: Personal Access Token
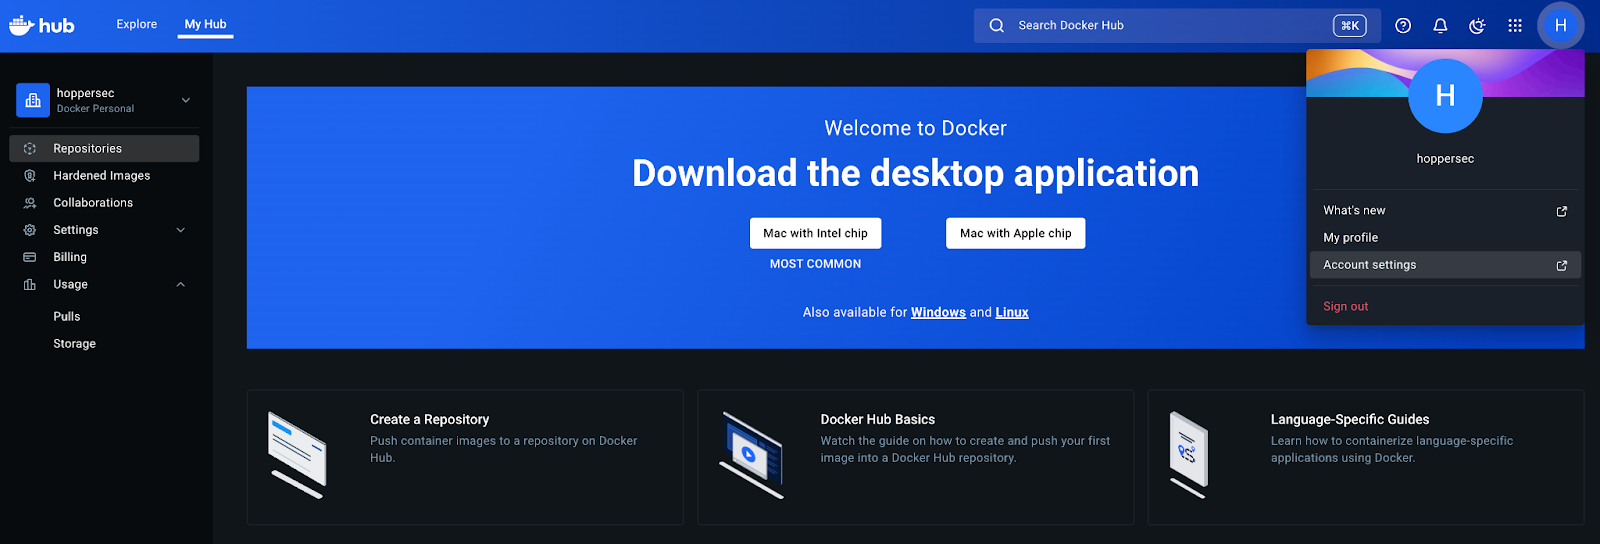
1. Sign in to Docker Hub with your personal account
2. Select your avatar in the top-right corner and from the drop-down menu select Account settings
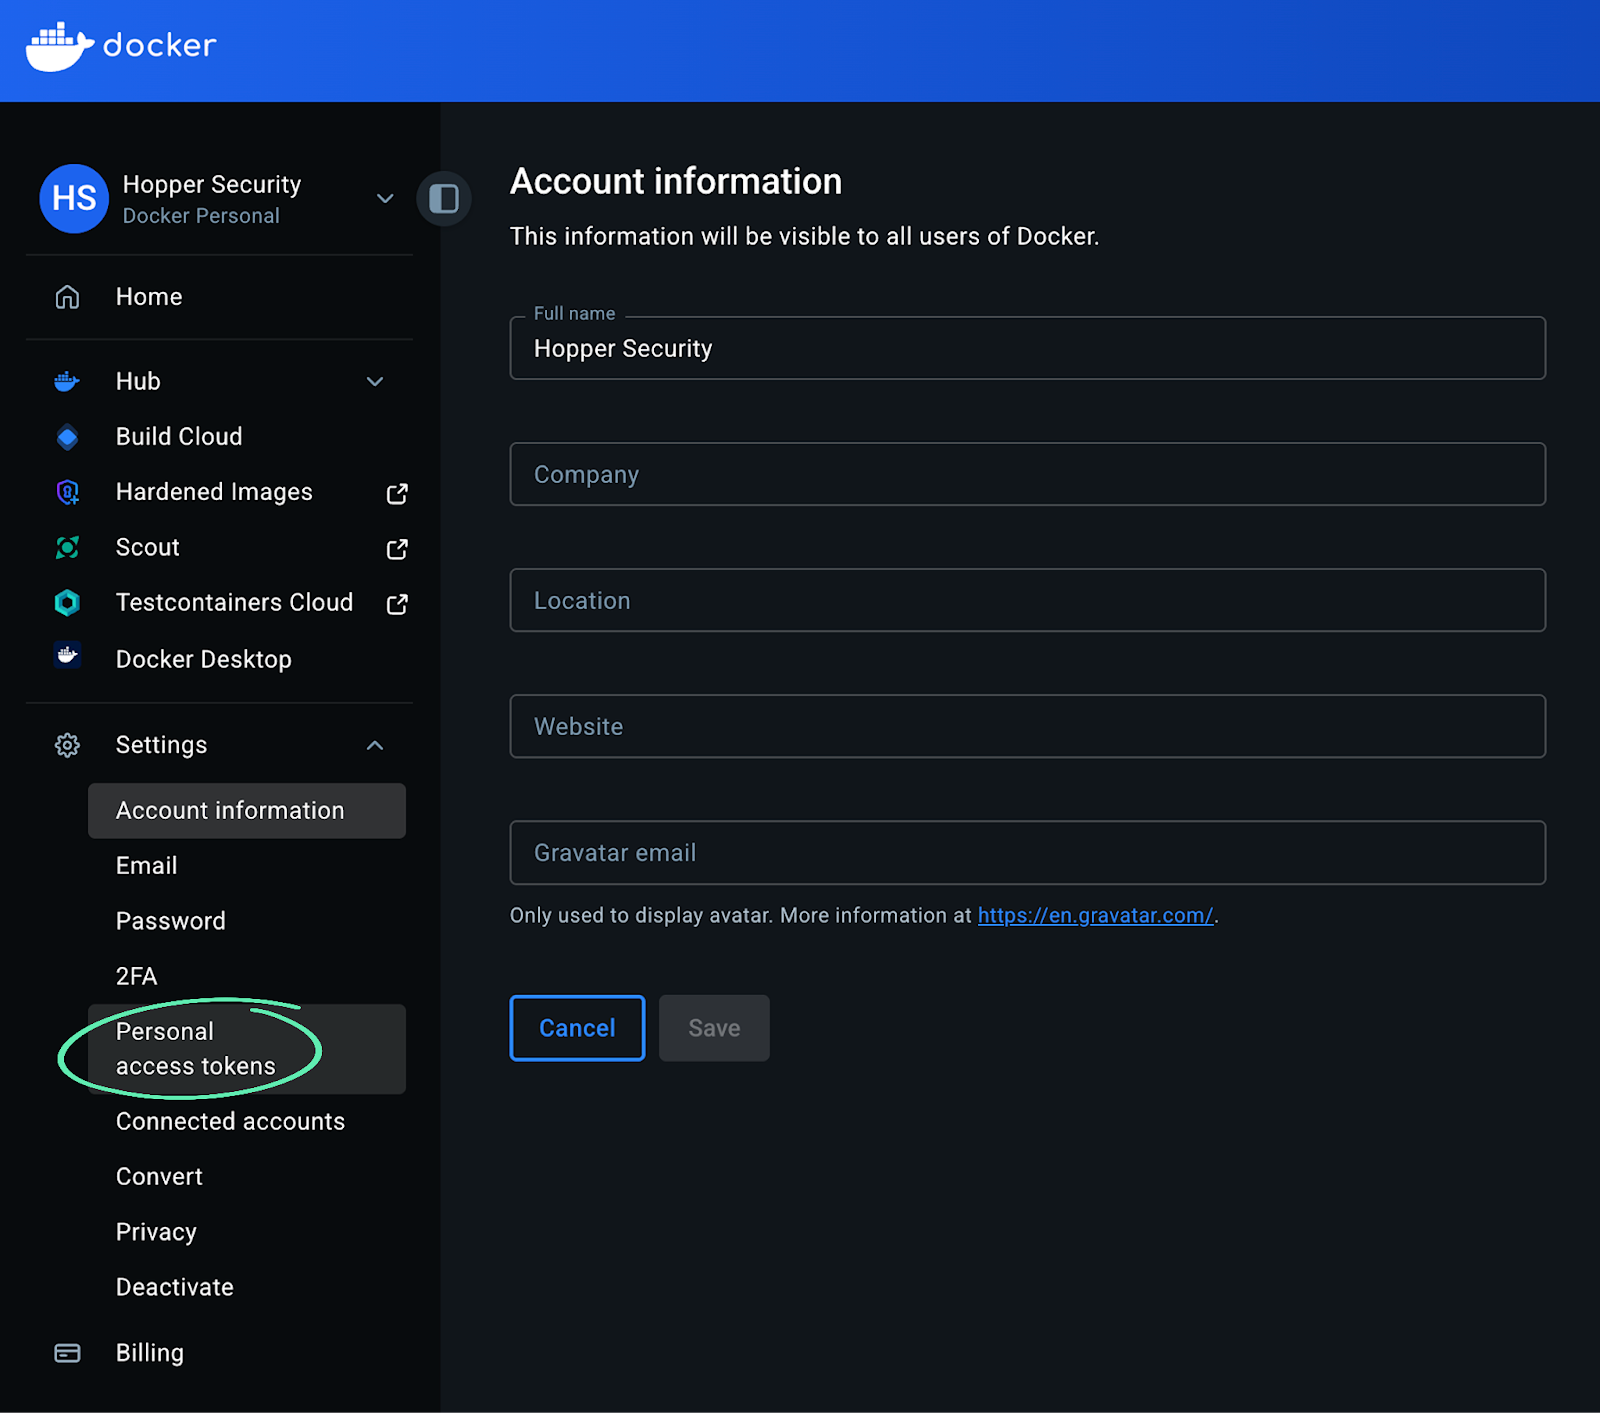
3. Select Personal access tokens
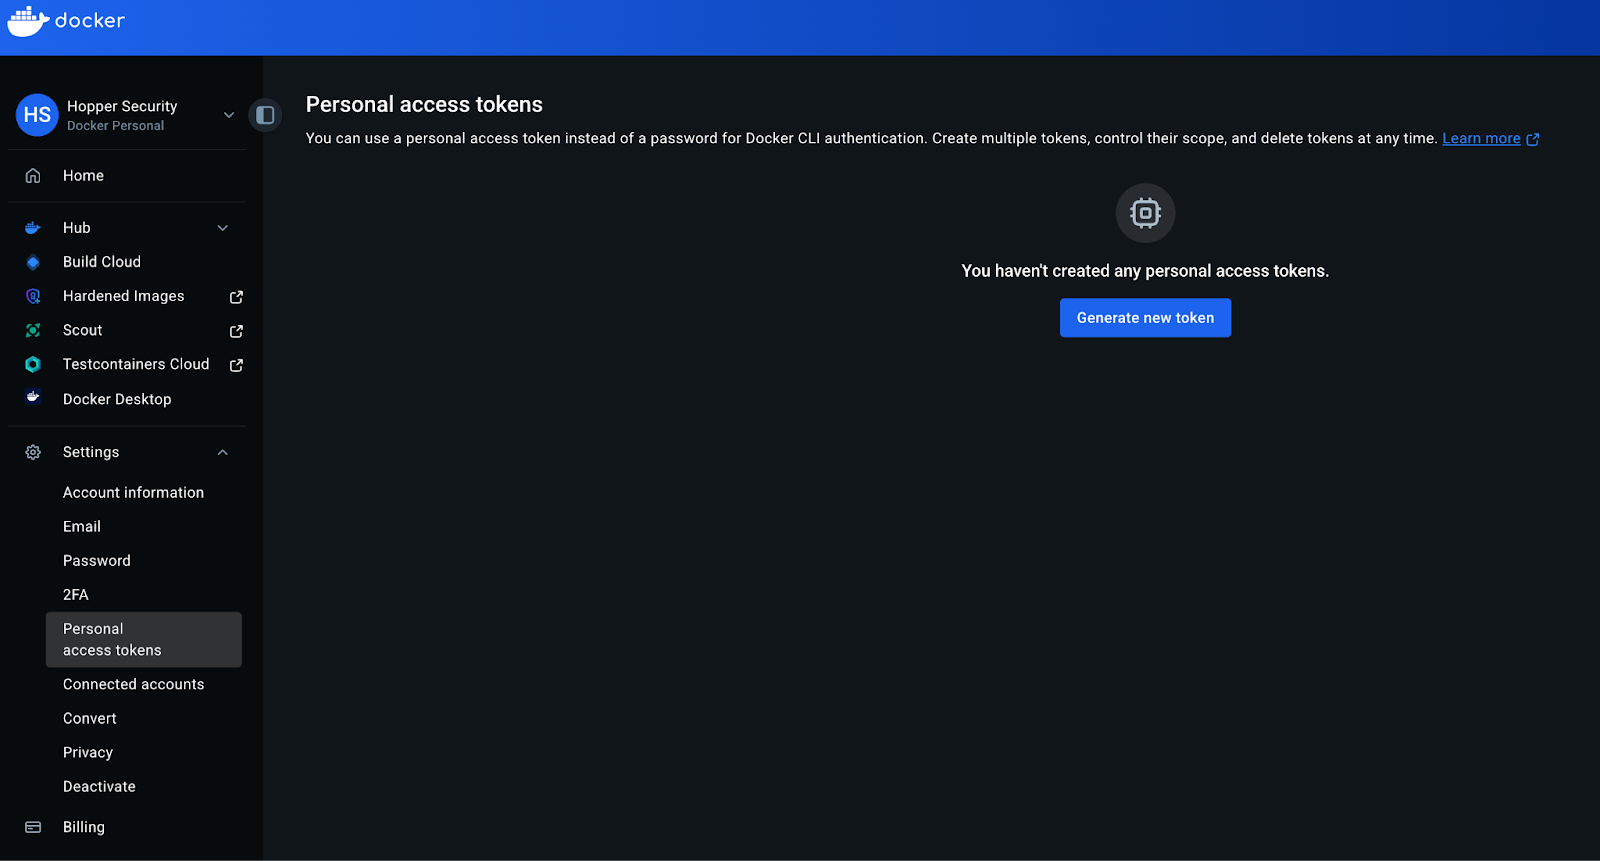
4. Select Generate new token
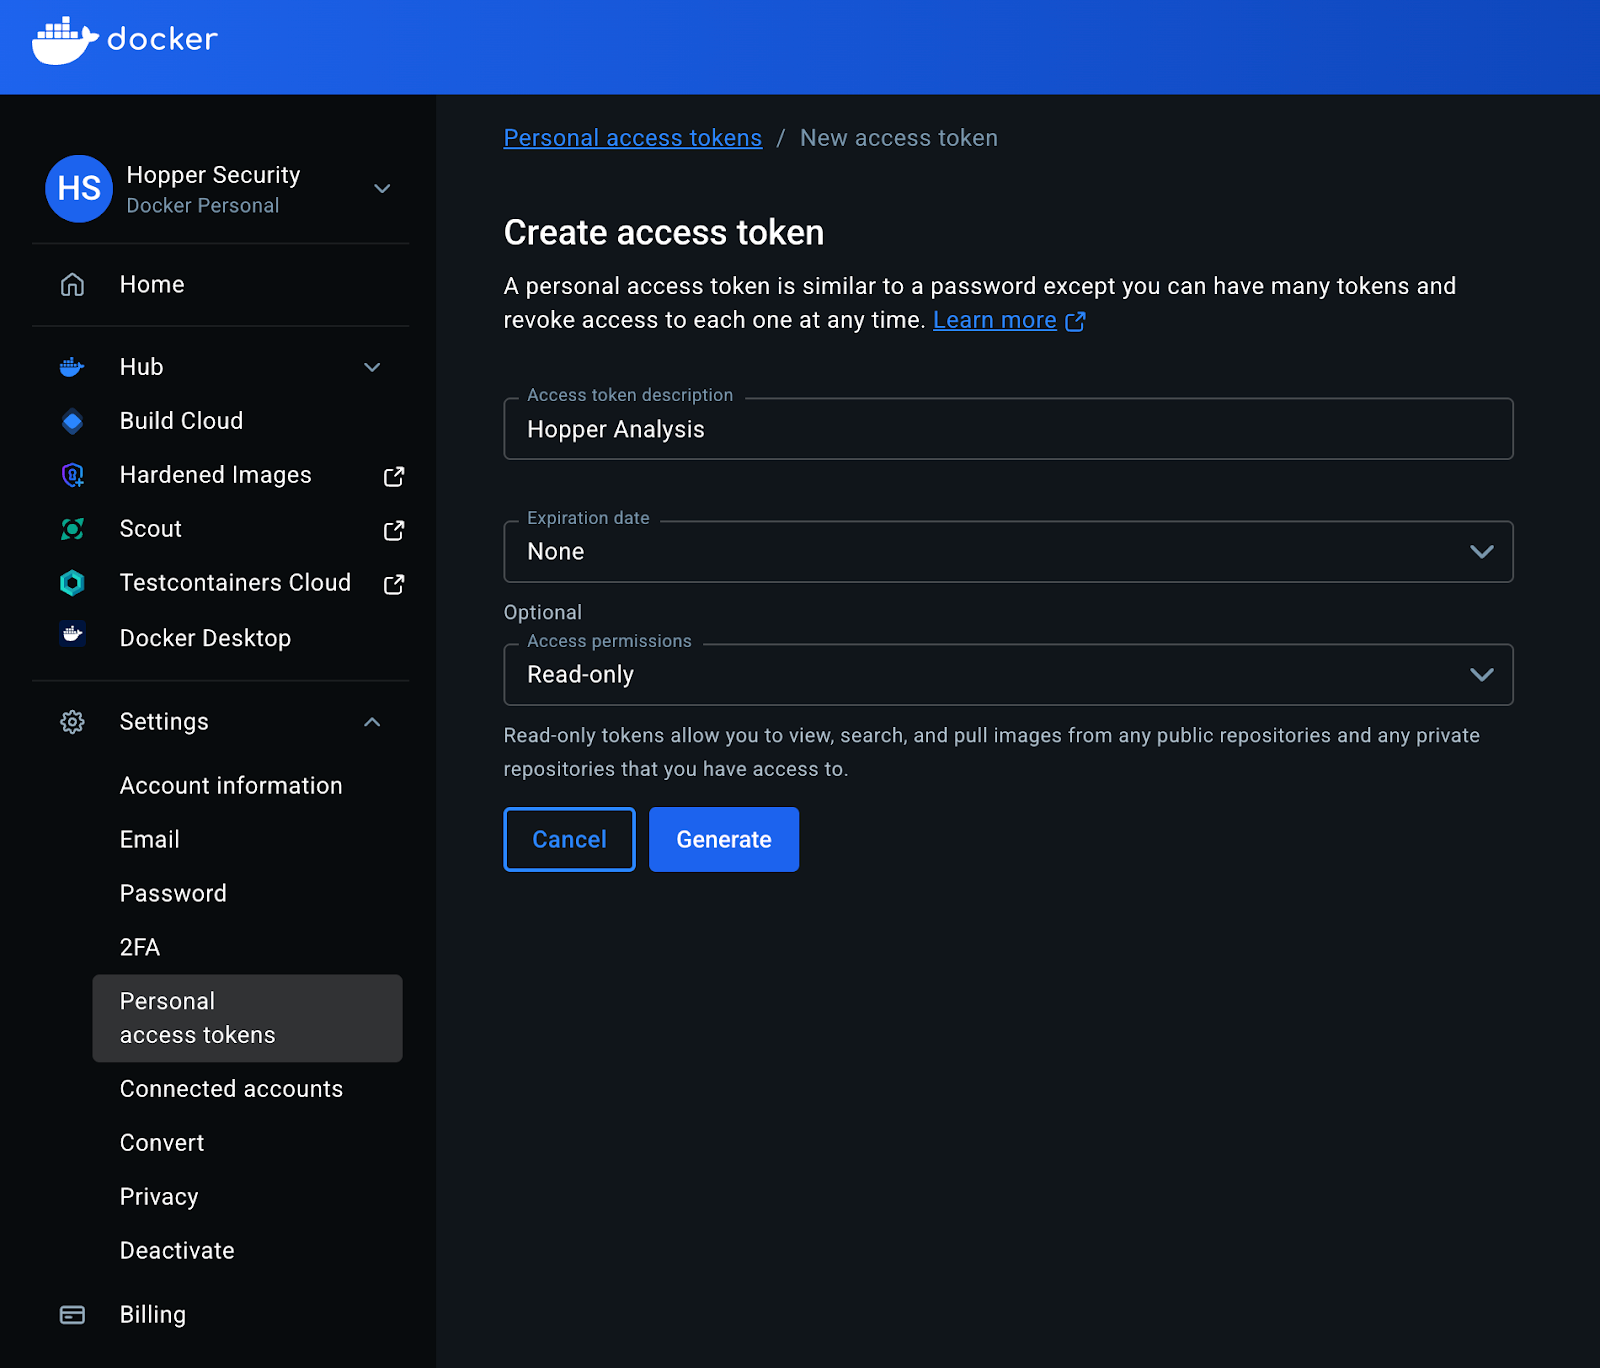
5. Configure your token:
- Description: Use a descriptive name that indicates the token’s purpose.
- Expiration date: Set an expiration date based on your security policies.
- Access permissions: set to Read-only or Public Repo Read-only in accordance with the access permissions of the images you wish to analyze.
- At the end, select Generate
6. Copy the token that appears on the screen and save it. You won’t be able to retrieve it once you exit the screen.
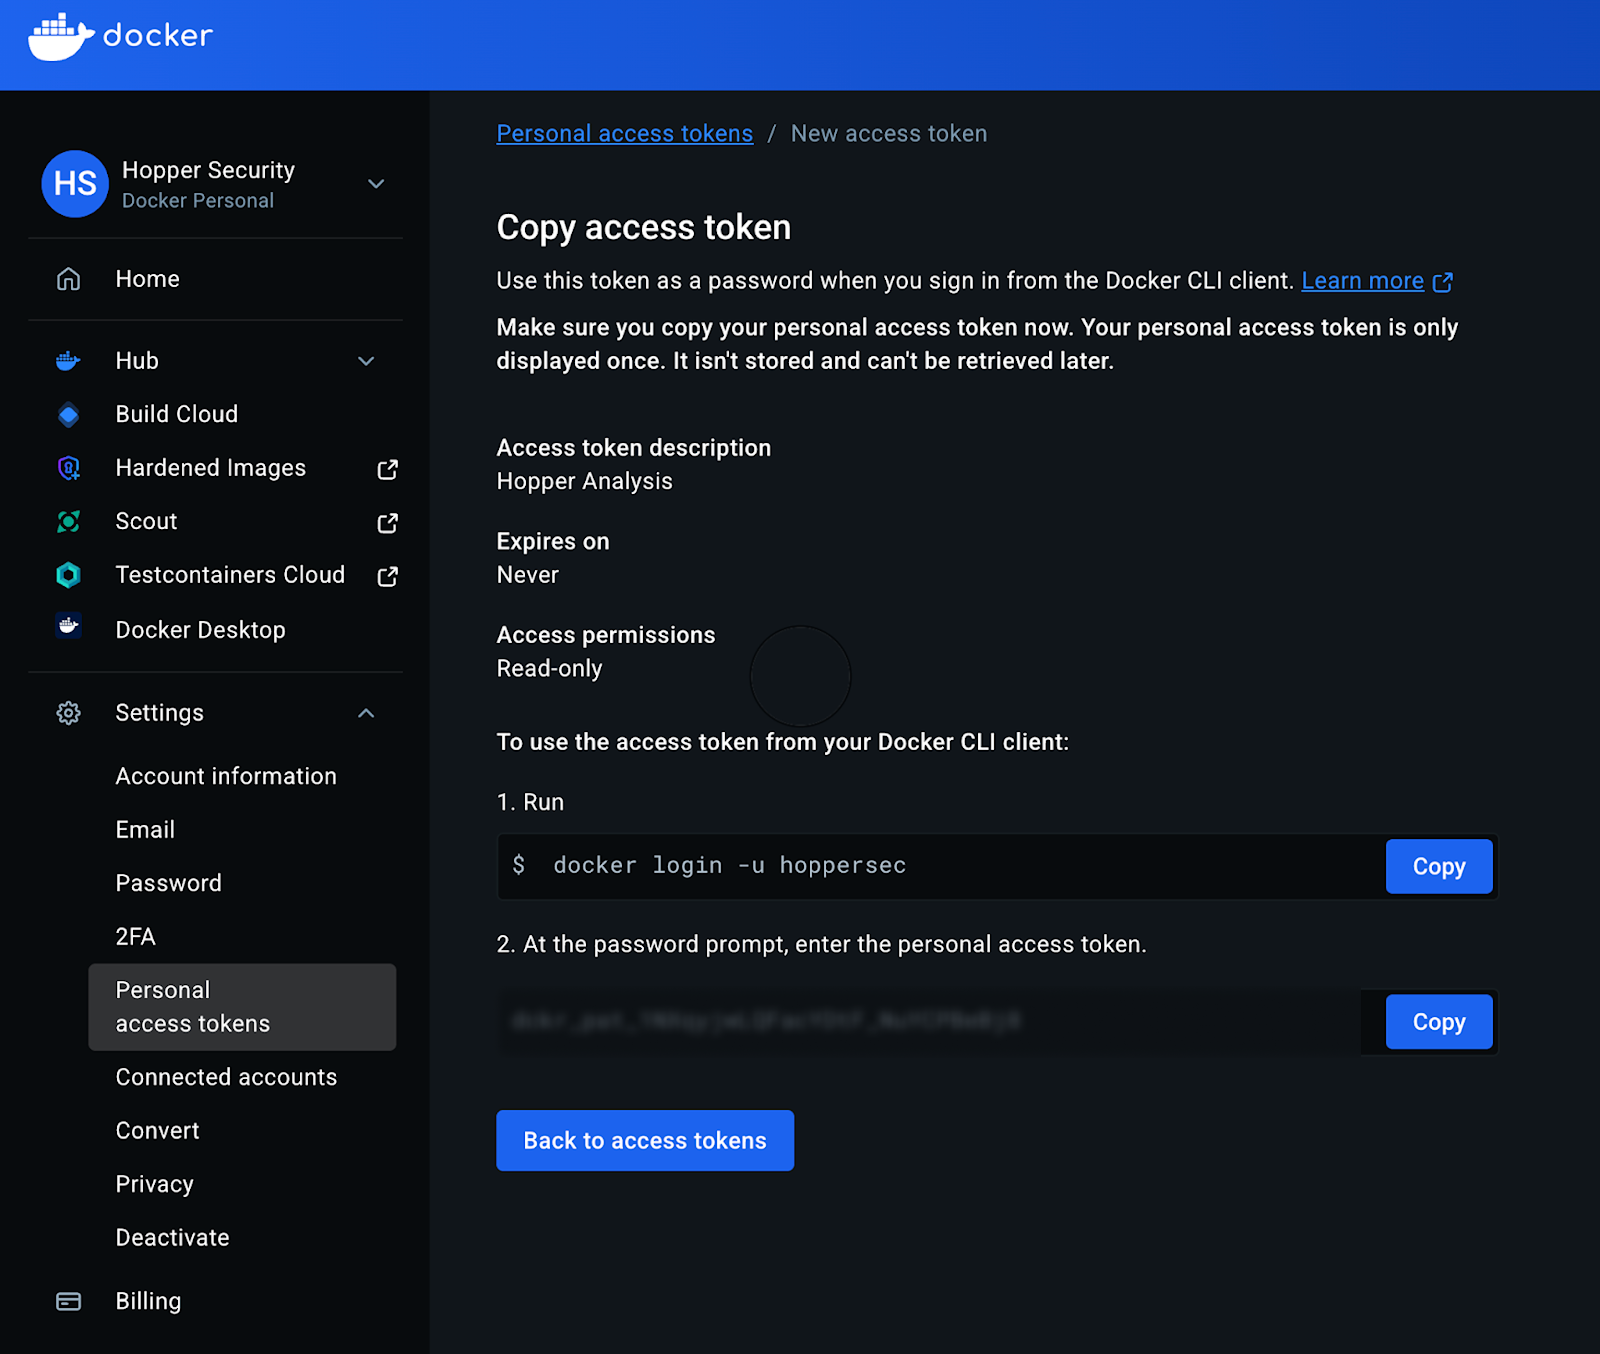
7. In the Hopper app, enter your Docker Hub user name and paste the access token you’ve just created.
8. Click Finish setup
Option 2: Organization Access Token
1. Sign in to Docker Hub with your organization account
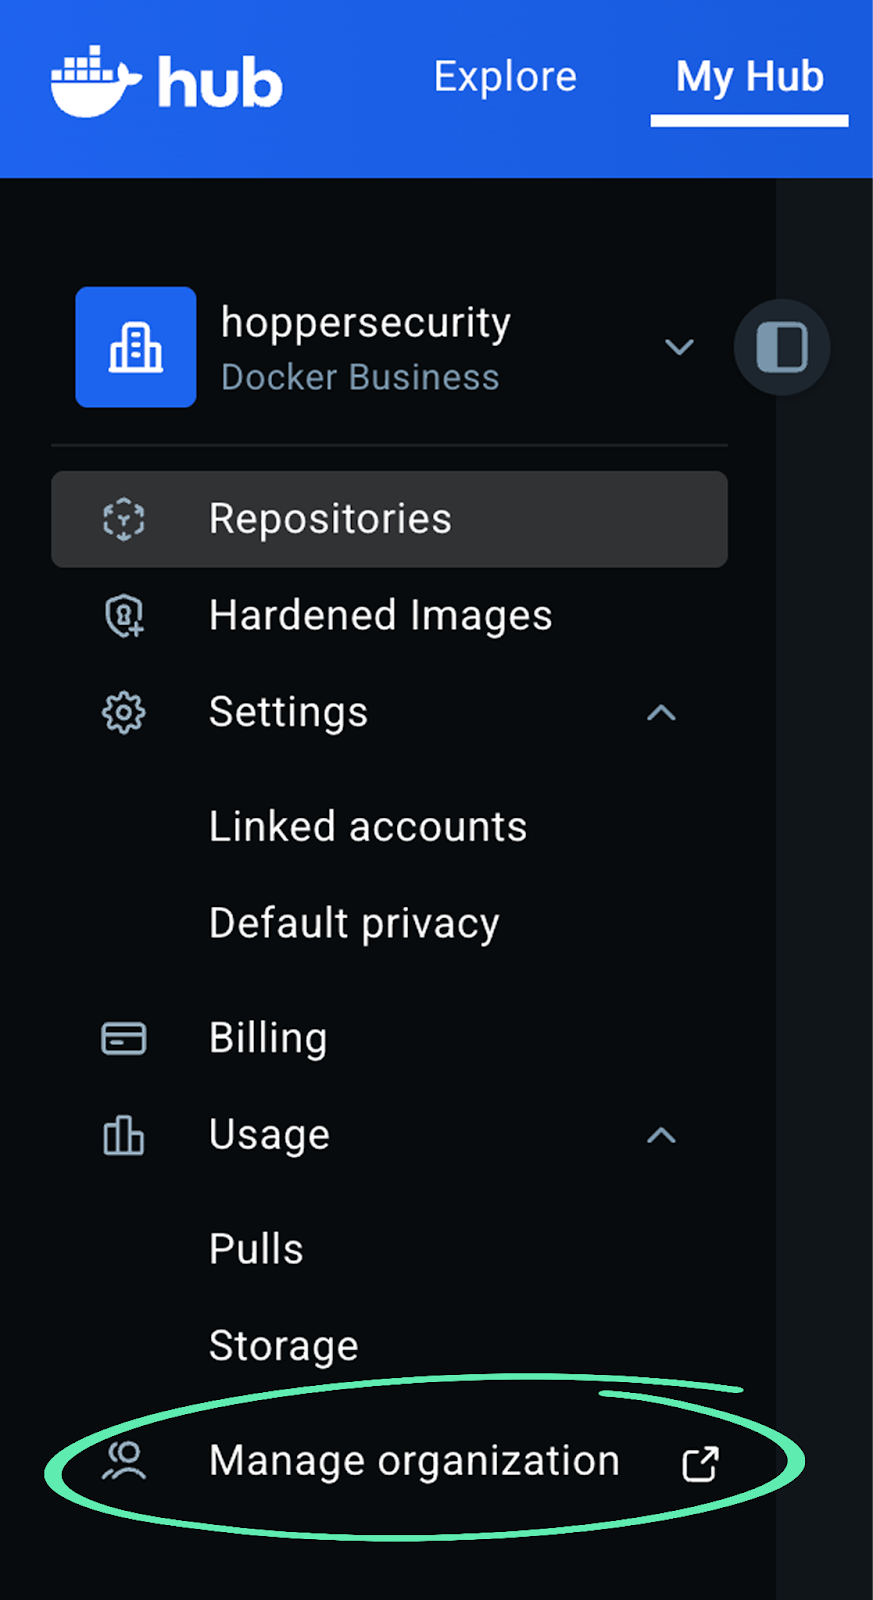
2. Select Manage Organization from the menu on the left side
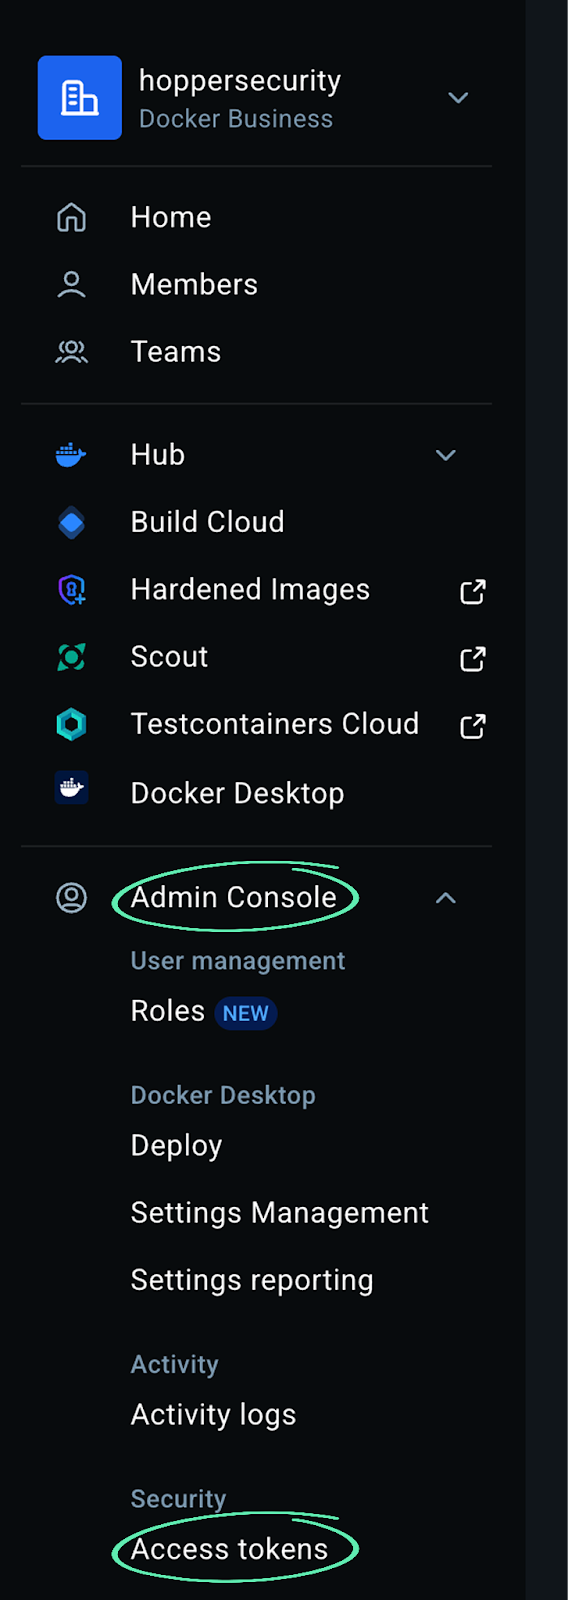
3. Then, in the newly opened tab, click Admin Console, then select Access Tokens
4. Select Generate Access Token

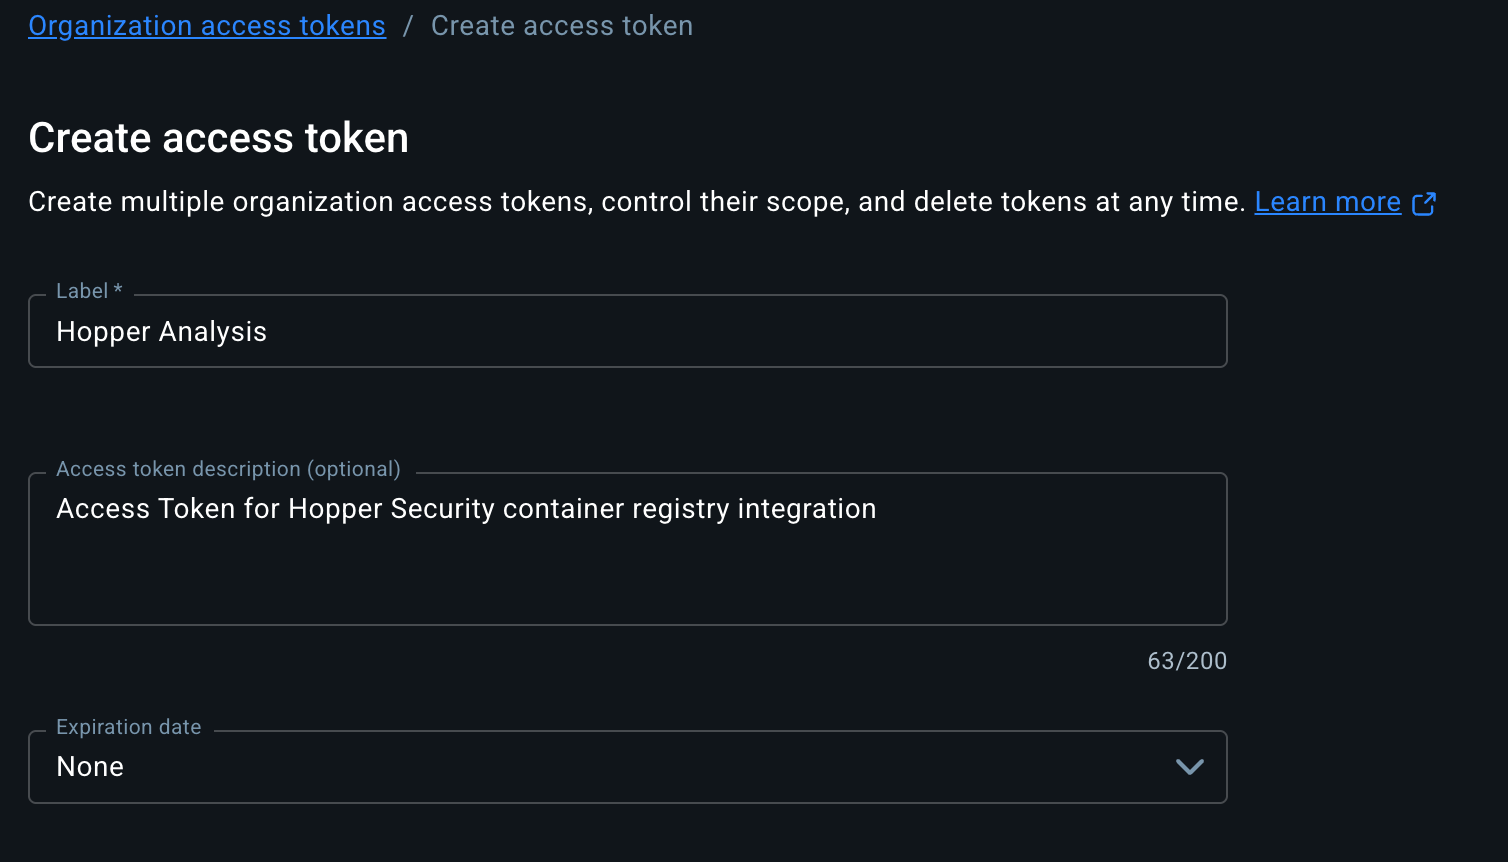
5. Configure token details:
- Label: Descriptive name indicating the token's purpose
- Description (optional): Additional details
- Expiration date: When the token should expire
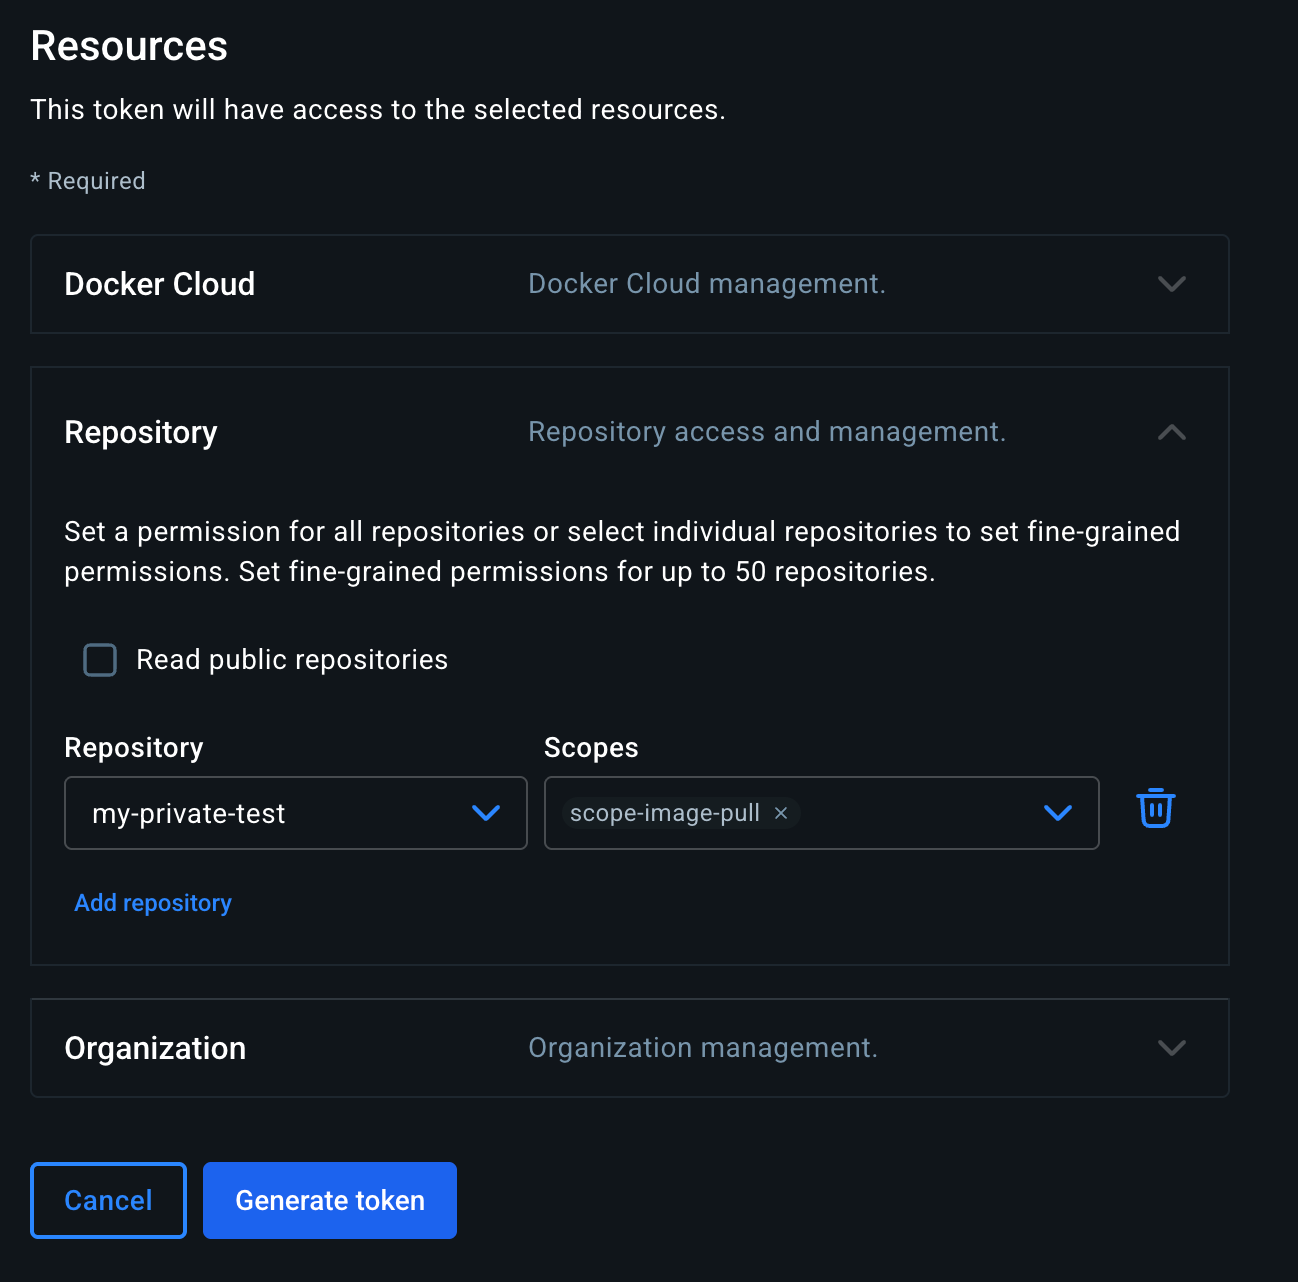
6. Expand the Repository drop-down to set access permissions:
- Optional: Select Read Public repositories for access to public repositories.
- Select Add Repository and choose the repositories you wish to analyze from the drop-down.
- Set permissions for each repository you chose for Image Pull.
- Select Generate Token.
7. Copy the token that appears on the screen and save it. You won’t be able to retrieve it once you exit the screen.

8. Go back to the Hopper app, enter your Docket Hub organization name, and paste the access token you’ve just created.
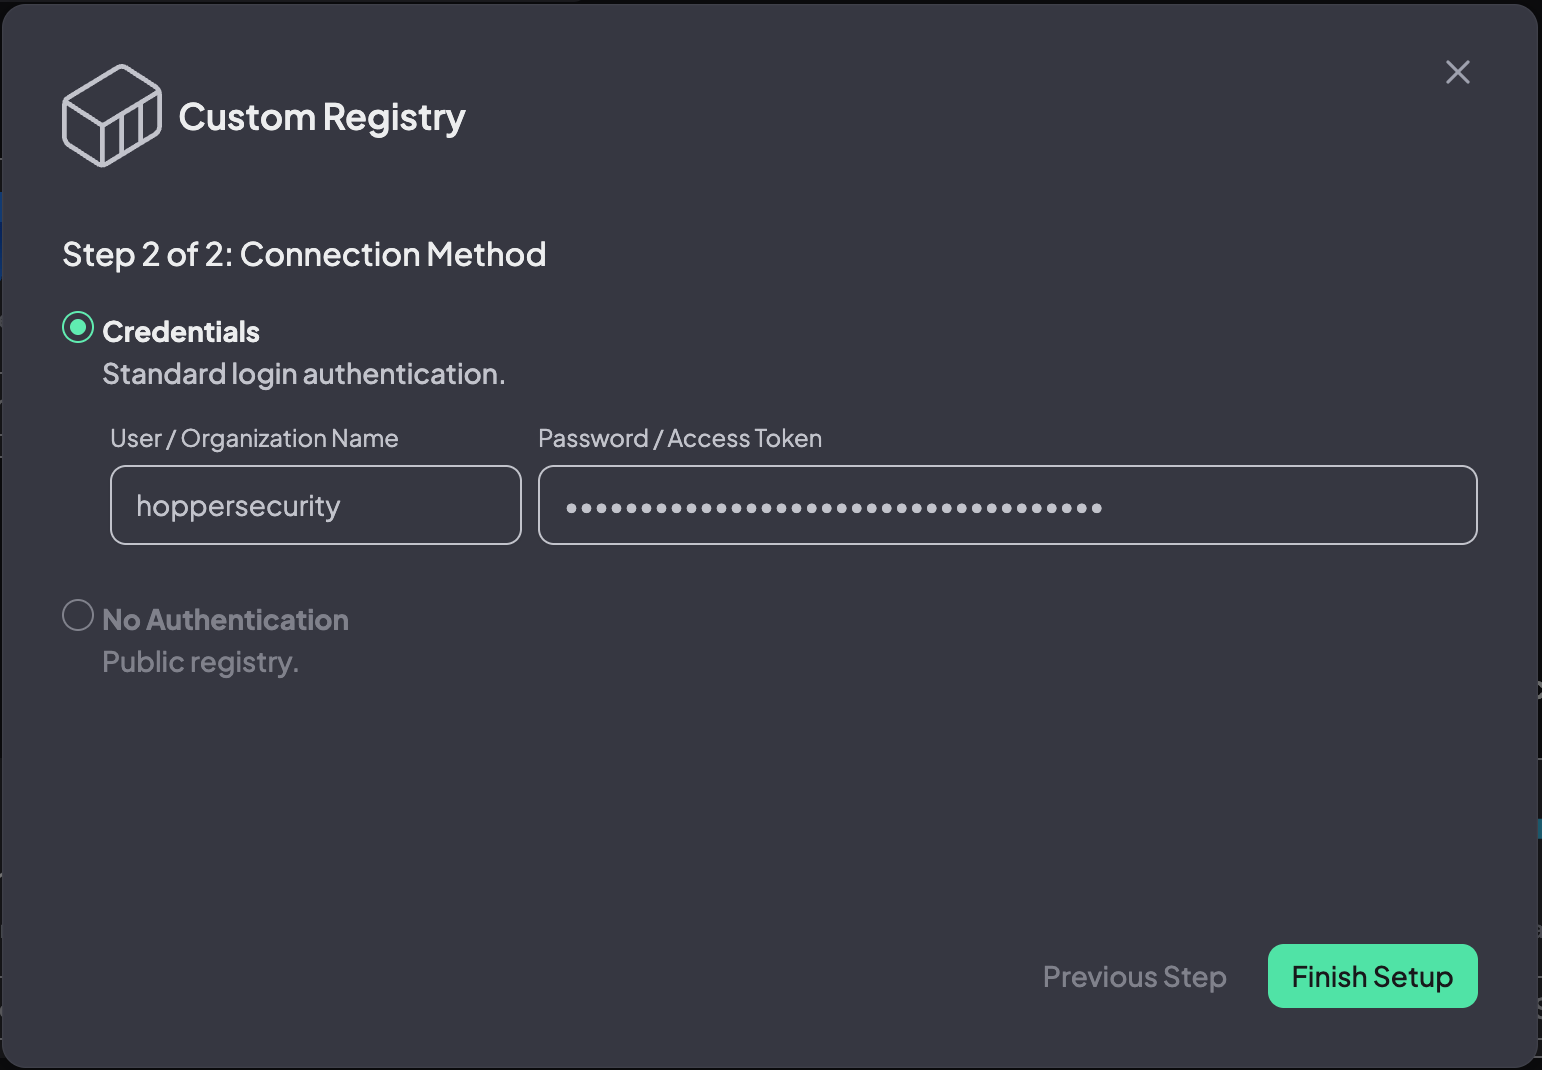
9. Click Finish Setup
You can now see your registry, and click save & next in order to continue to step 2 of the onboarding.
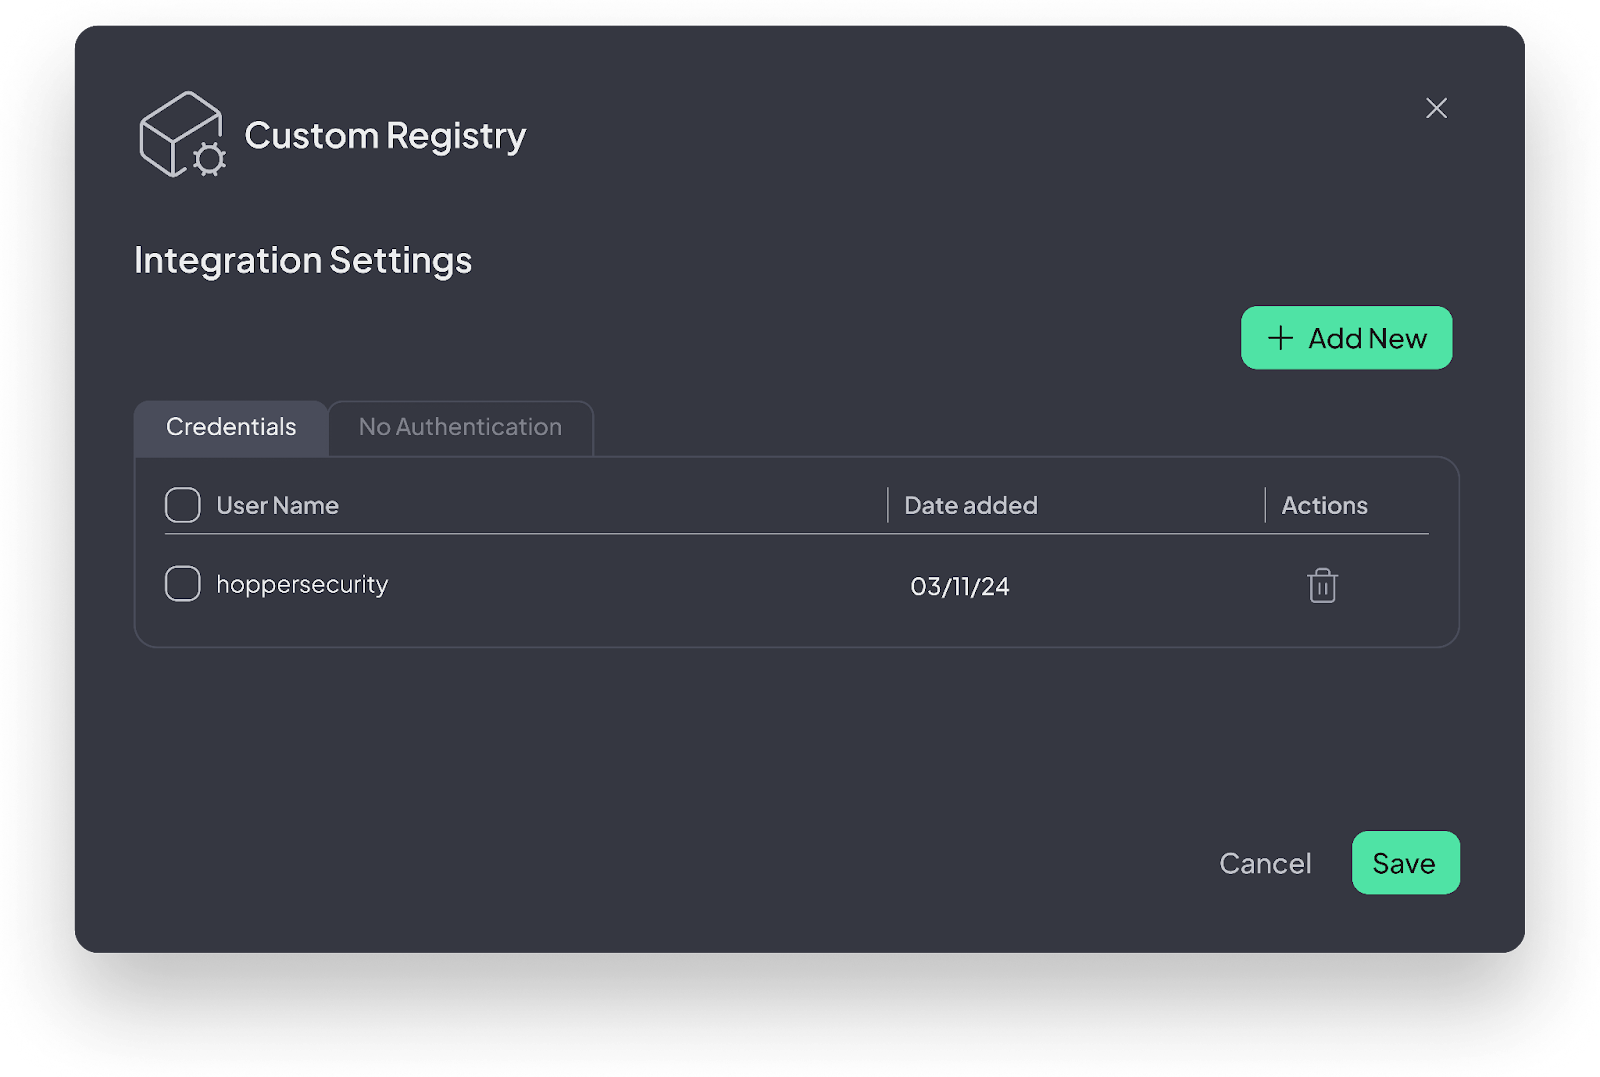
That’s it! You are all set!
Proceed to:
Select Repositories and Images